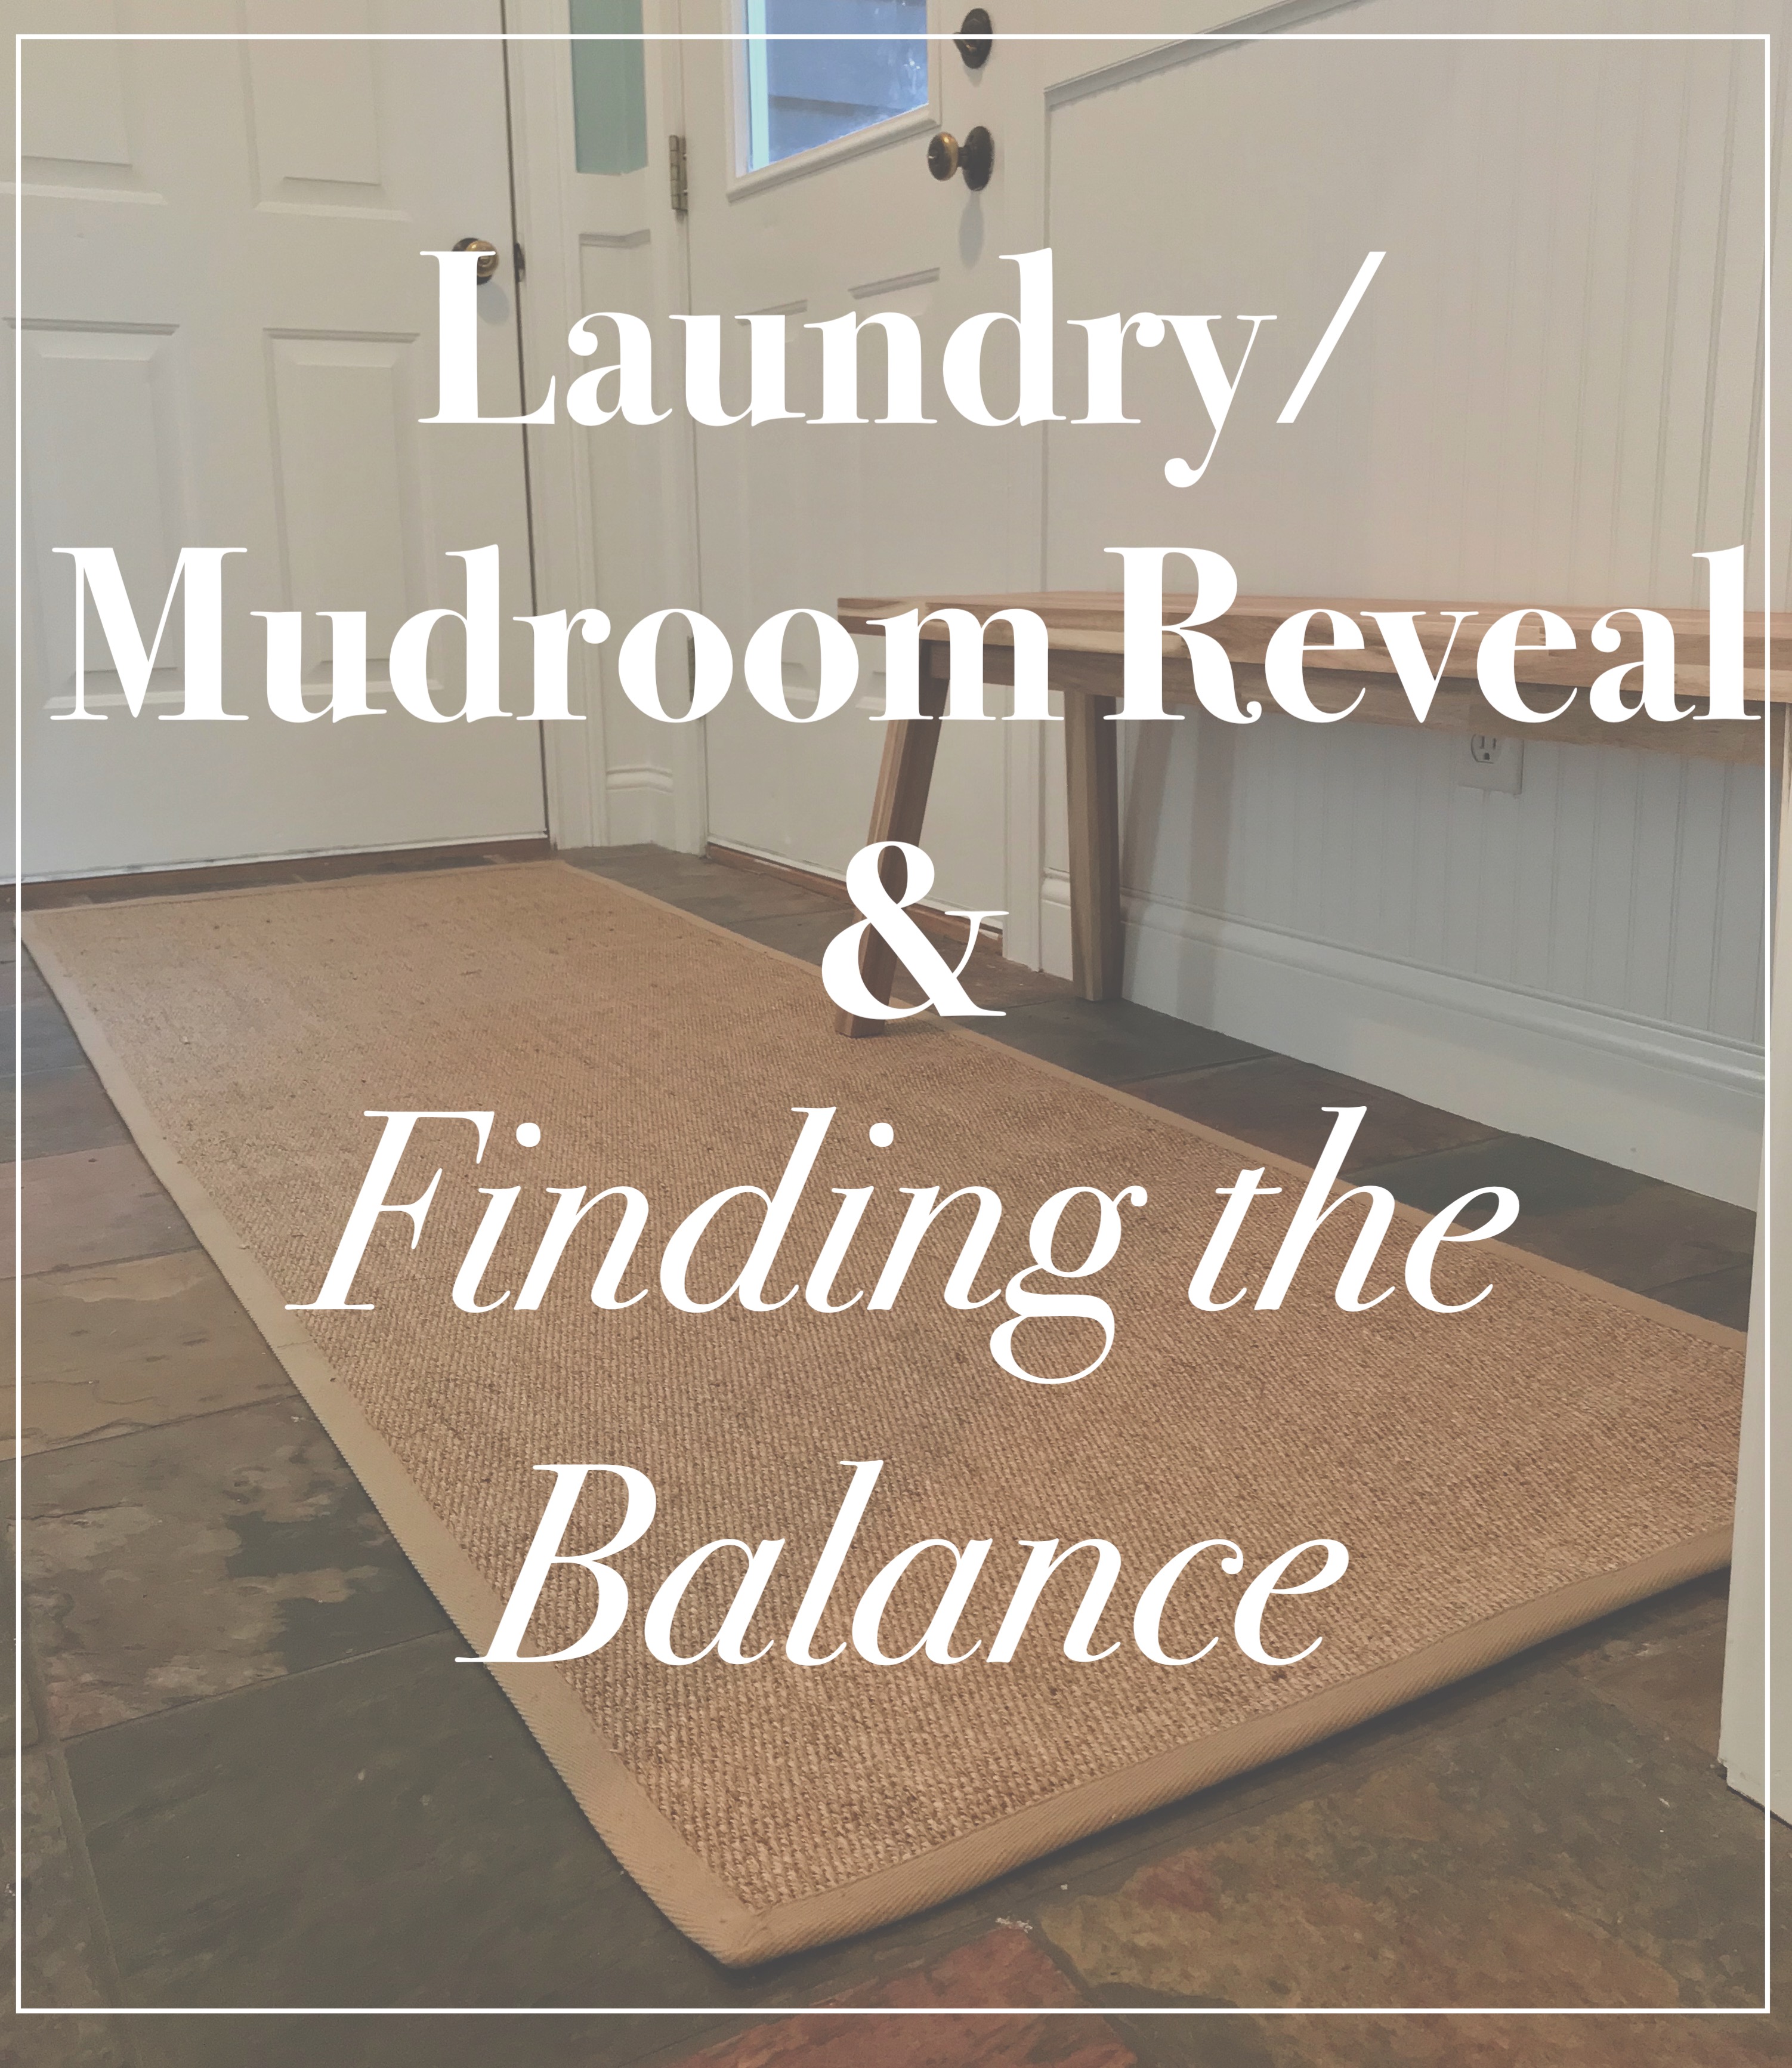
Laundry/Mudroom Reveal and Finding the Balance
Well, I am officially finished with the Laundry Room/Mudroom and I have to say it is a vast improvement over what we started with!
Perhaps even more importantly, we have all managed to keep everything in relatively good order for the last month as well — so wins all around!
Here’s a little recap of the whole process. I’ll spare you the “before’s” — you can go back a few posts if you want to see the disaster.
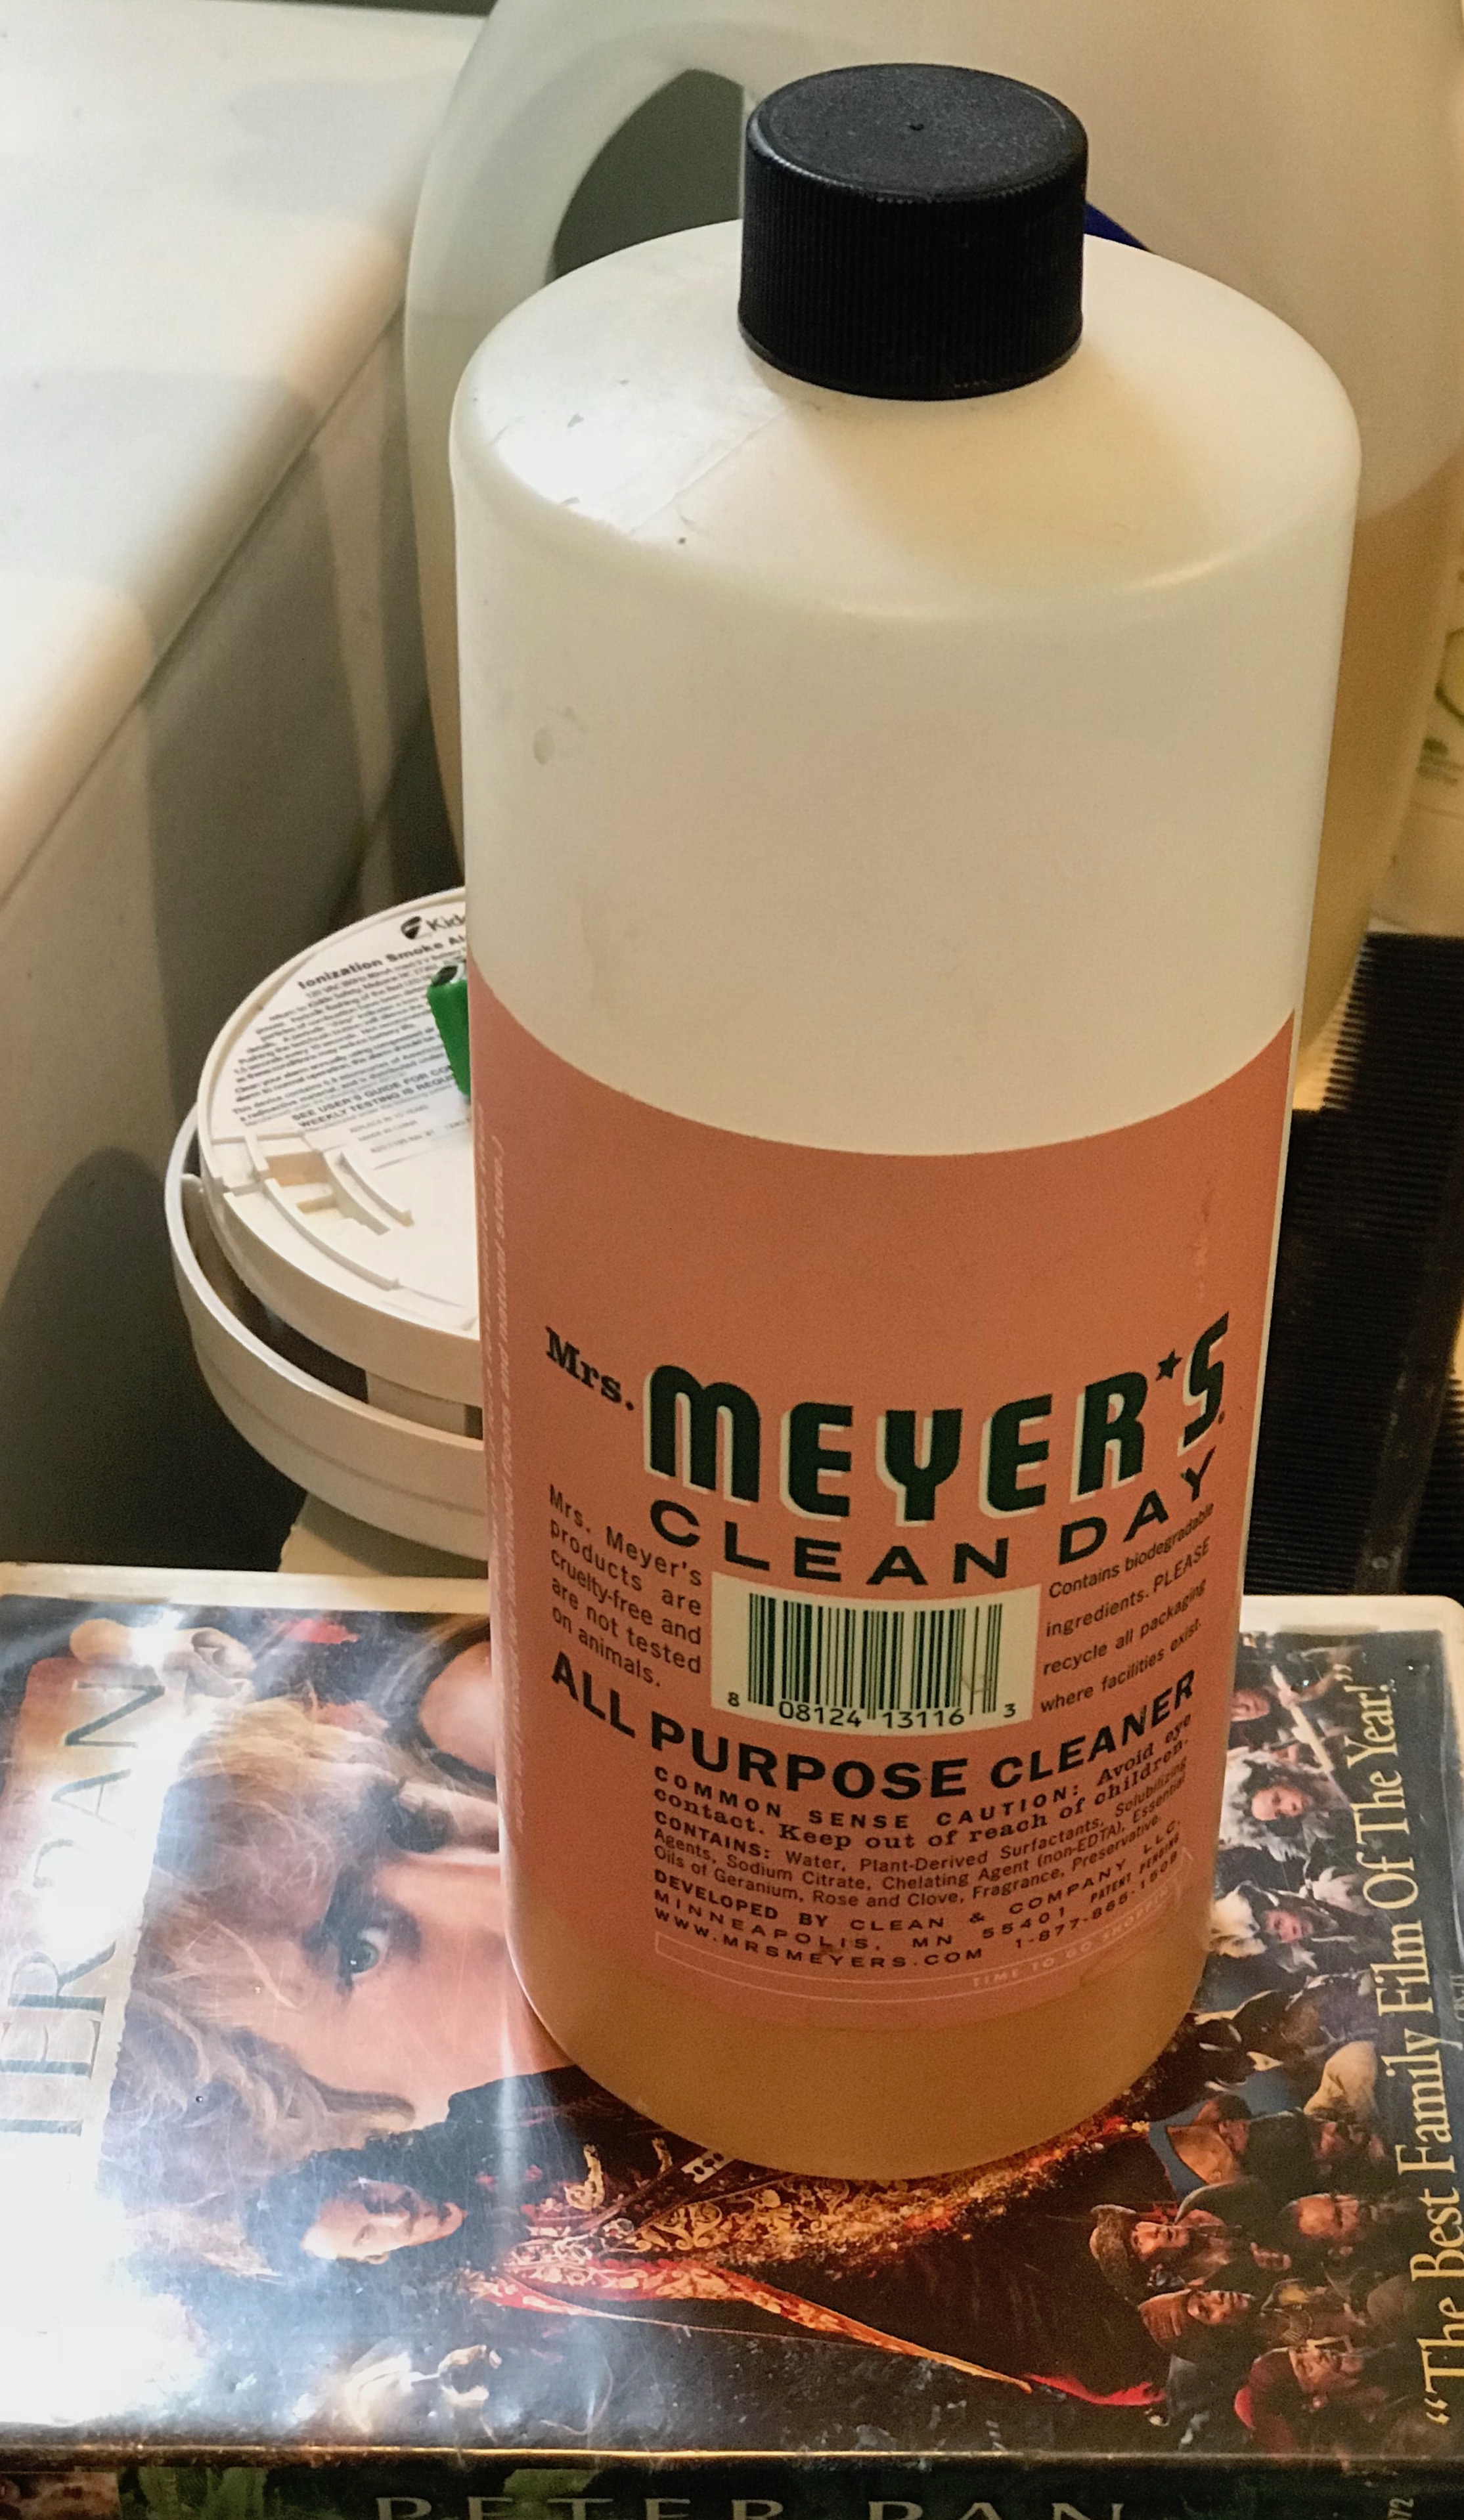
Step One: began with a clean slate by clearing everything out and cleaning the floor and walls.
To be clear, the last time I mopped this floor was about 12 years ago.
This is not a regular occurrence, but it sure does feel good about every 12 years to mop your floors and clean down your walls.
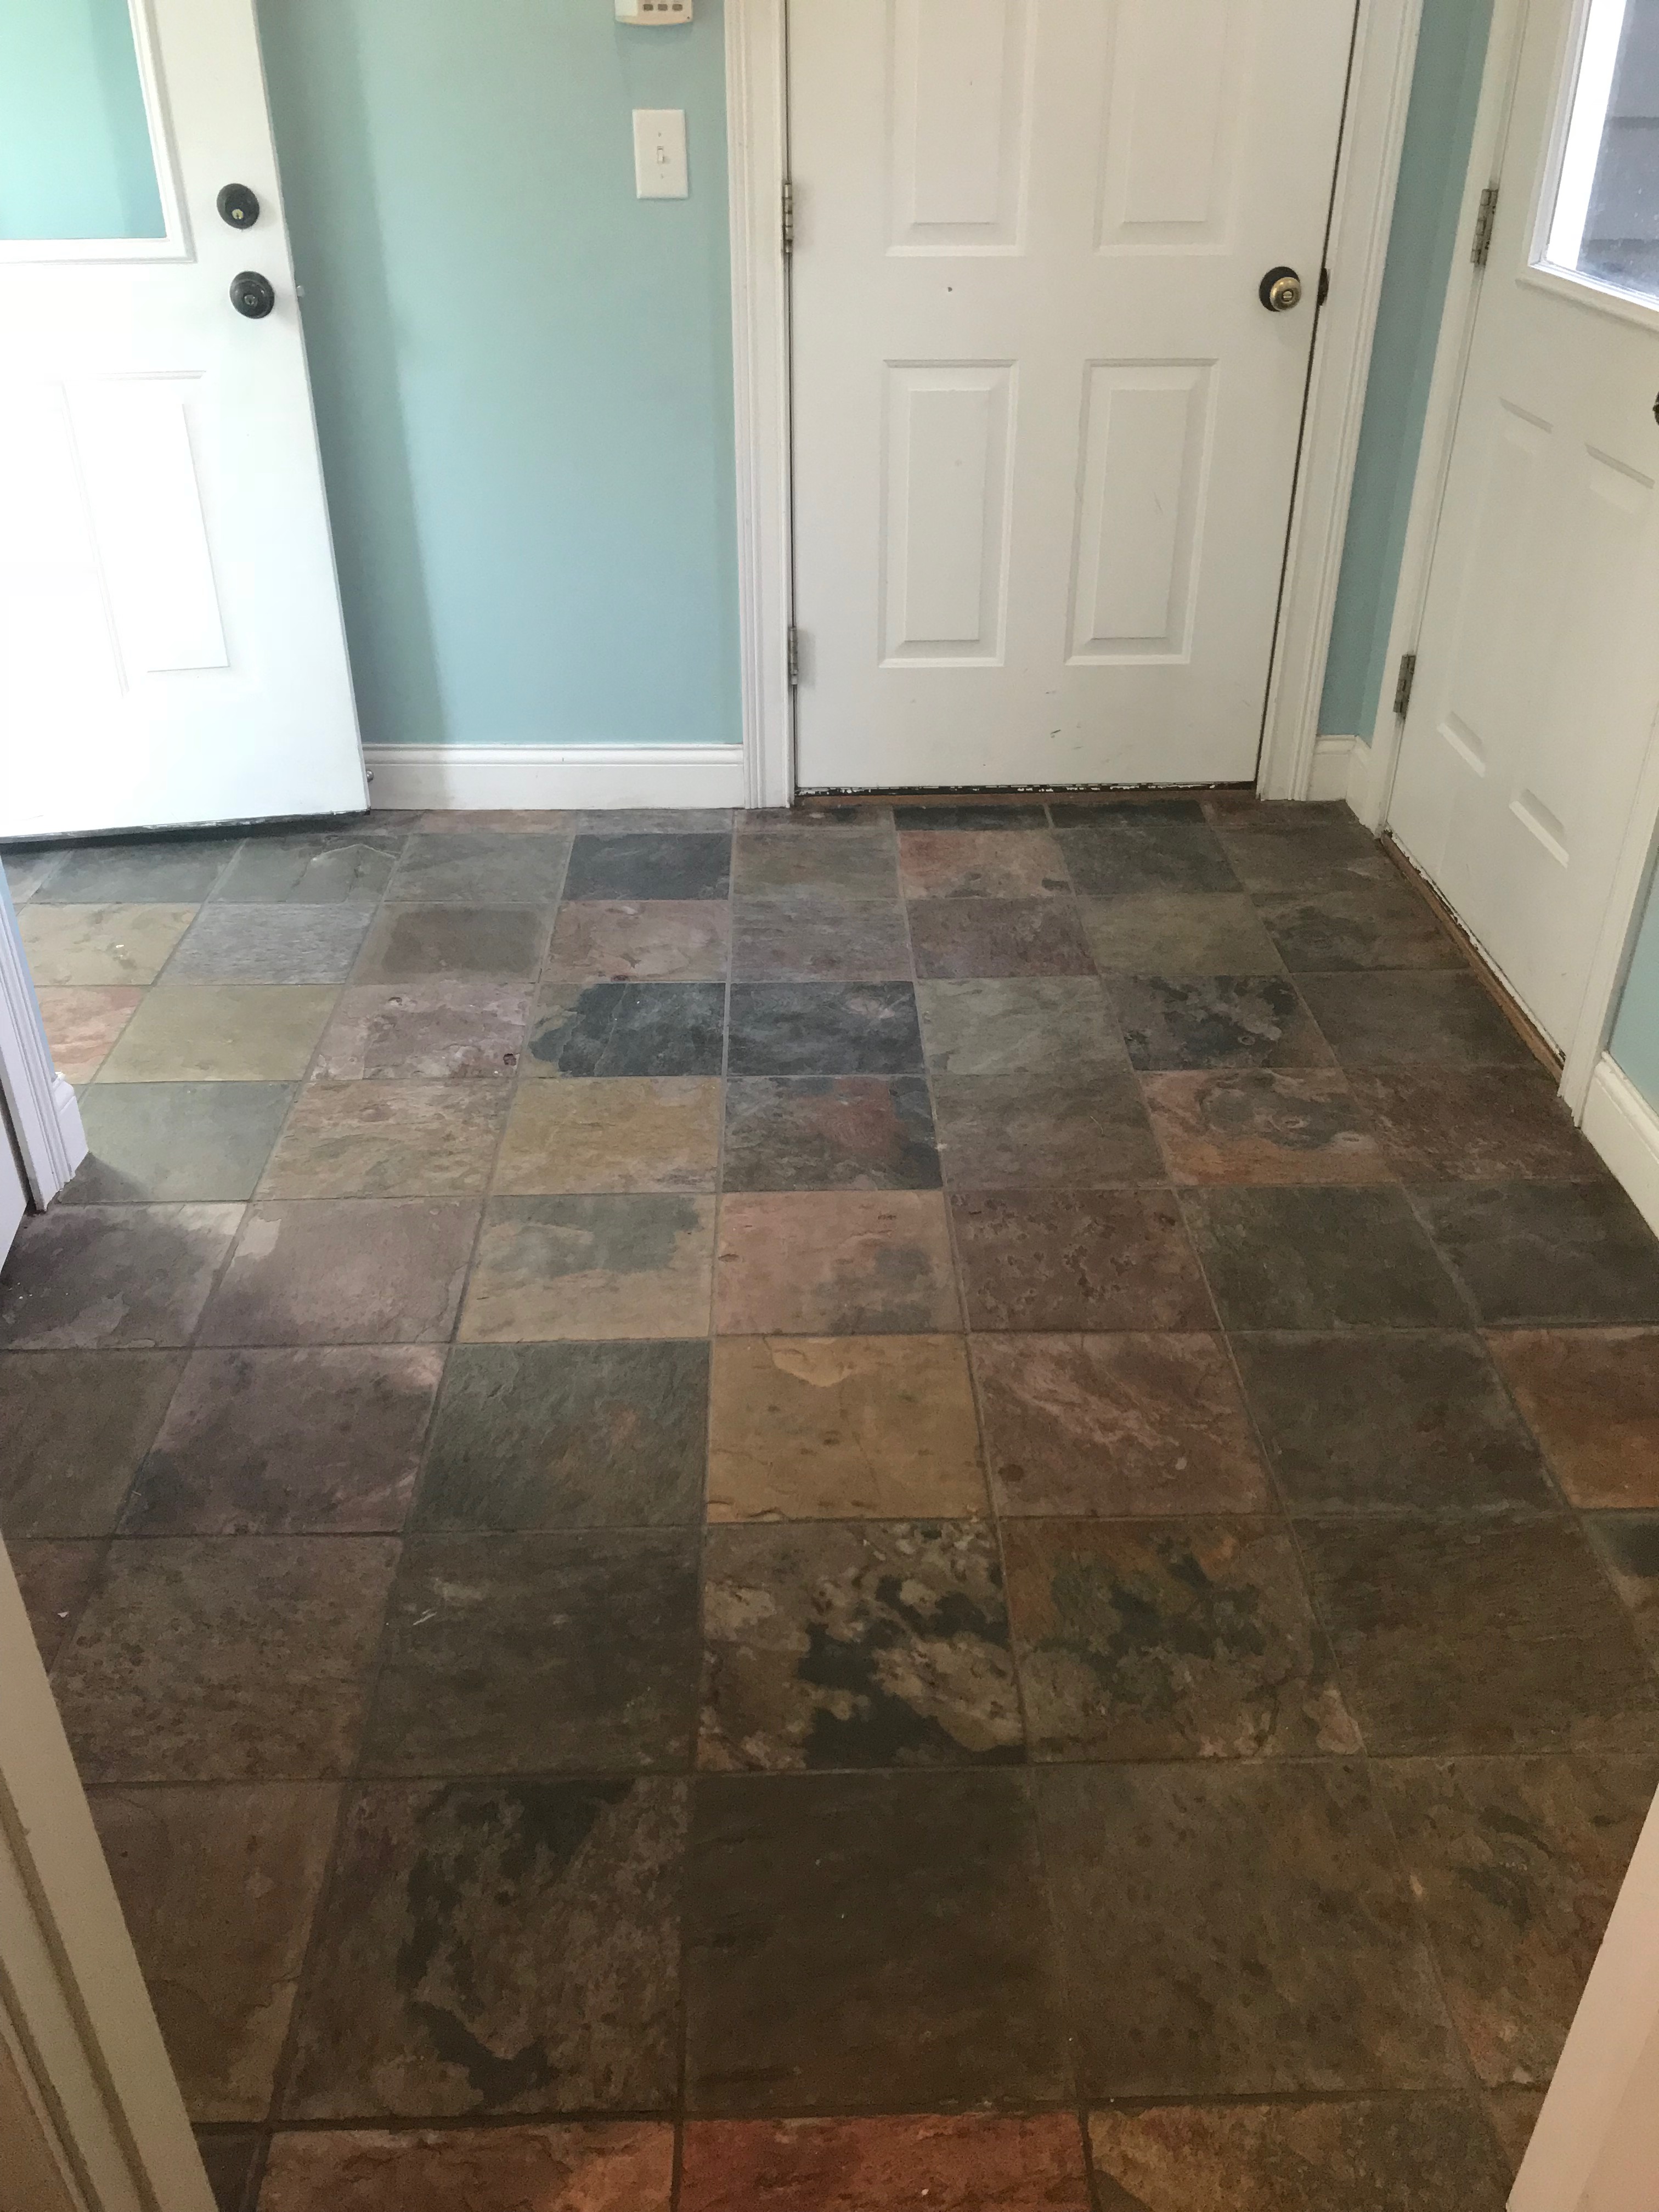
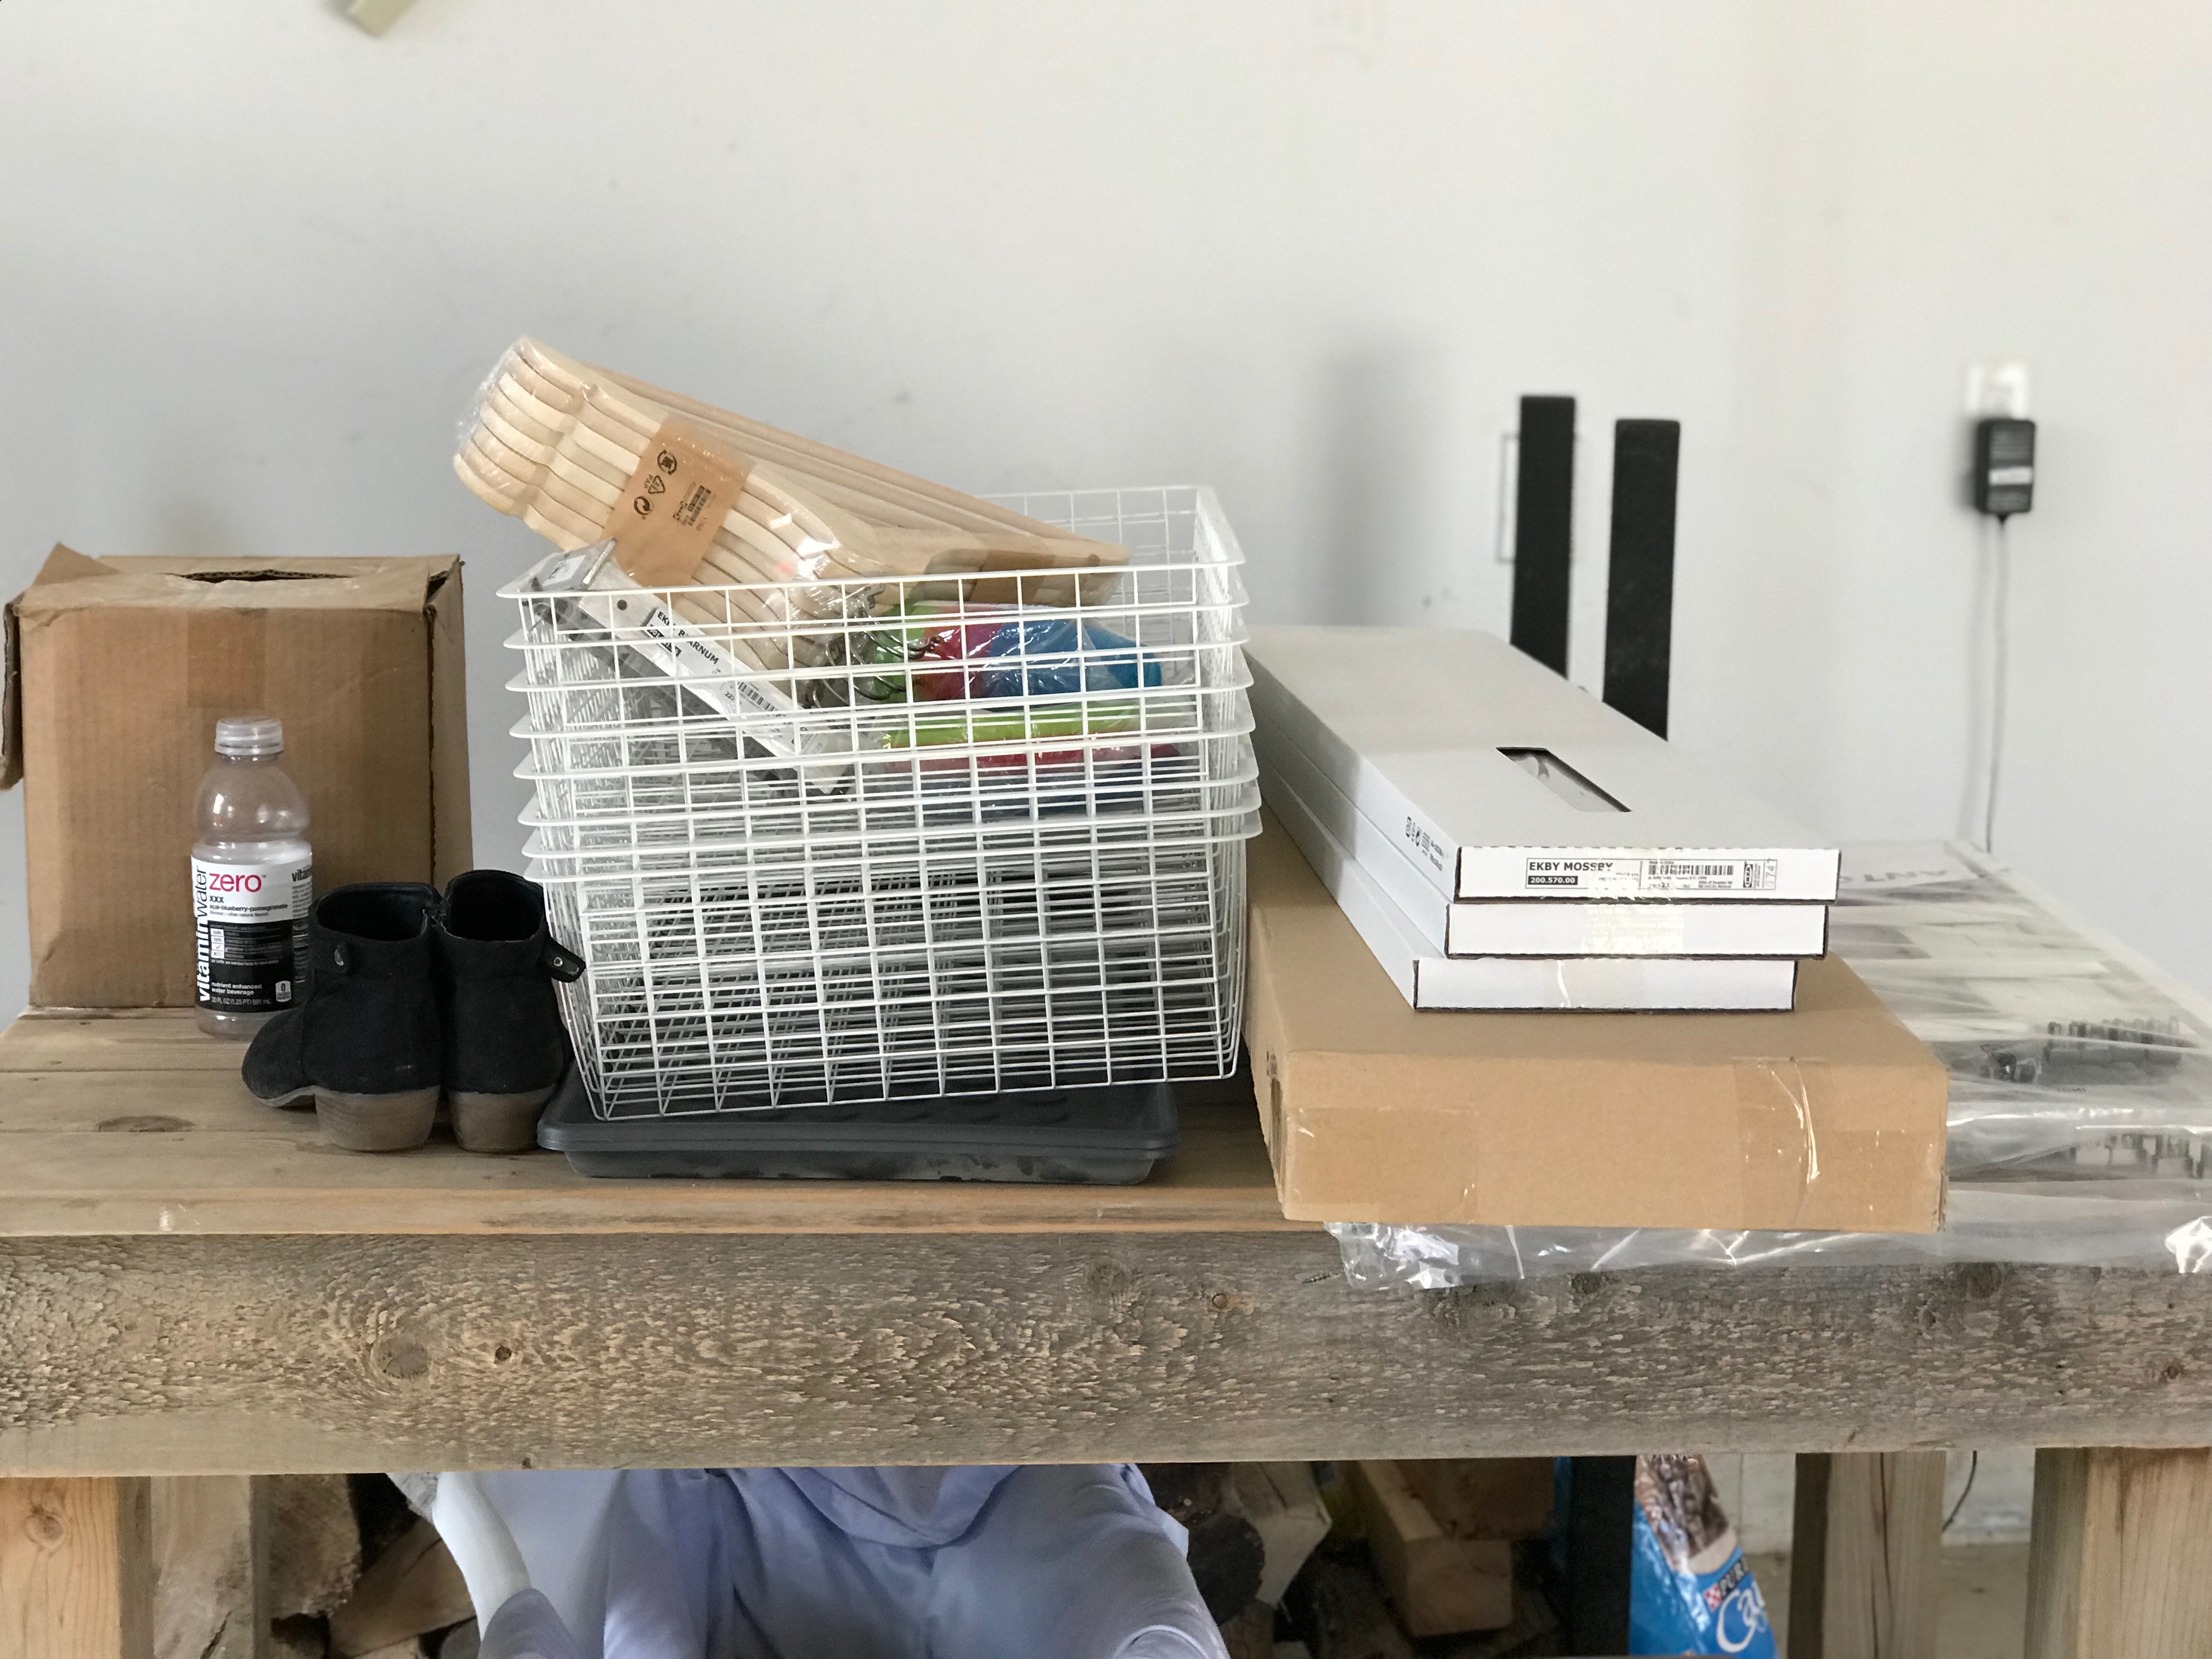
Step Two: Once you can see what you’re working with, determine what is needed to solve the storage problems.
I did take careful measurements to avoid buying furniture that wouldn’t work in the space. That is a step I usually skip.
About 95% of my purchases worked in the space, so those measurements were very helpful!
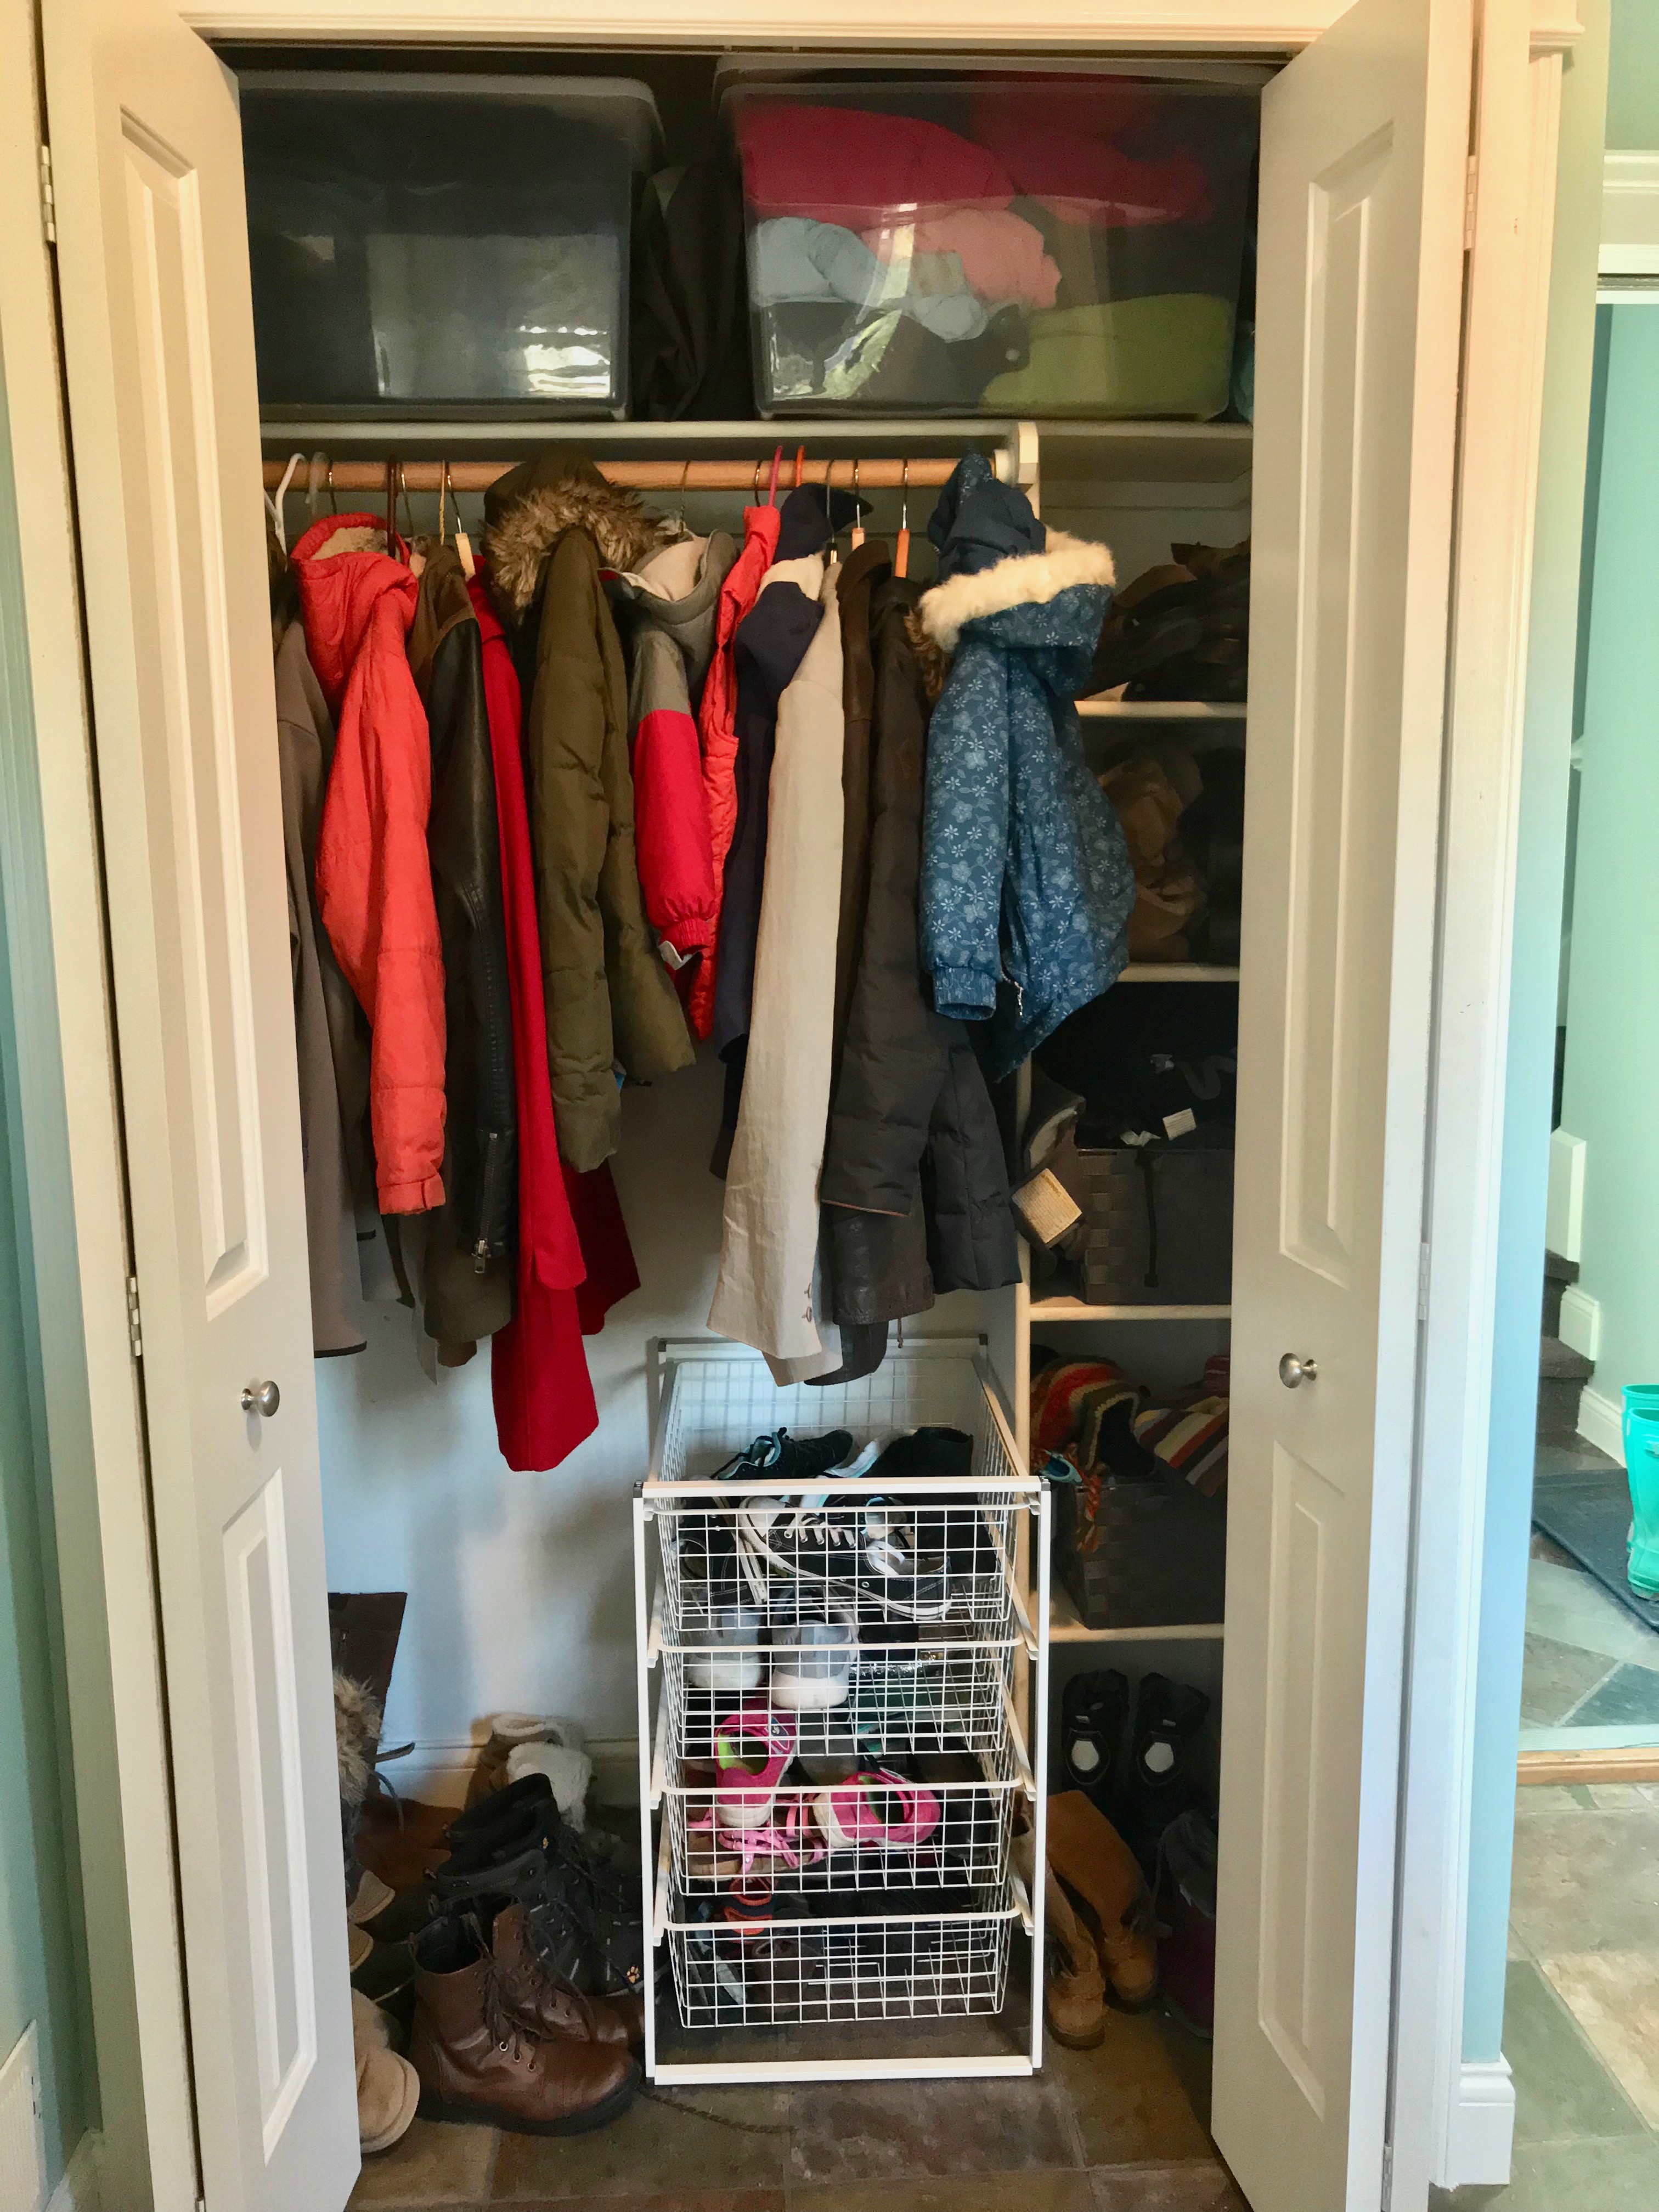
Step Three: Organize the closet.
I put excess coats and once a year items, like ski helmets, up top in clear bins. I also made sure there was enough shoe storage for everybody, which was one of our biggest sources for clutter on the floors.
I did originally have two white racks with a shoe bin for each person, but the fold-out doors wouldn’t allow for the second bin to open. I didn’t account for the folding doors eating into that space. As they say, the devil is in the details.
So I moved that second bin to the laundry room closet and, all in all, it’s all working well for us.
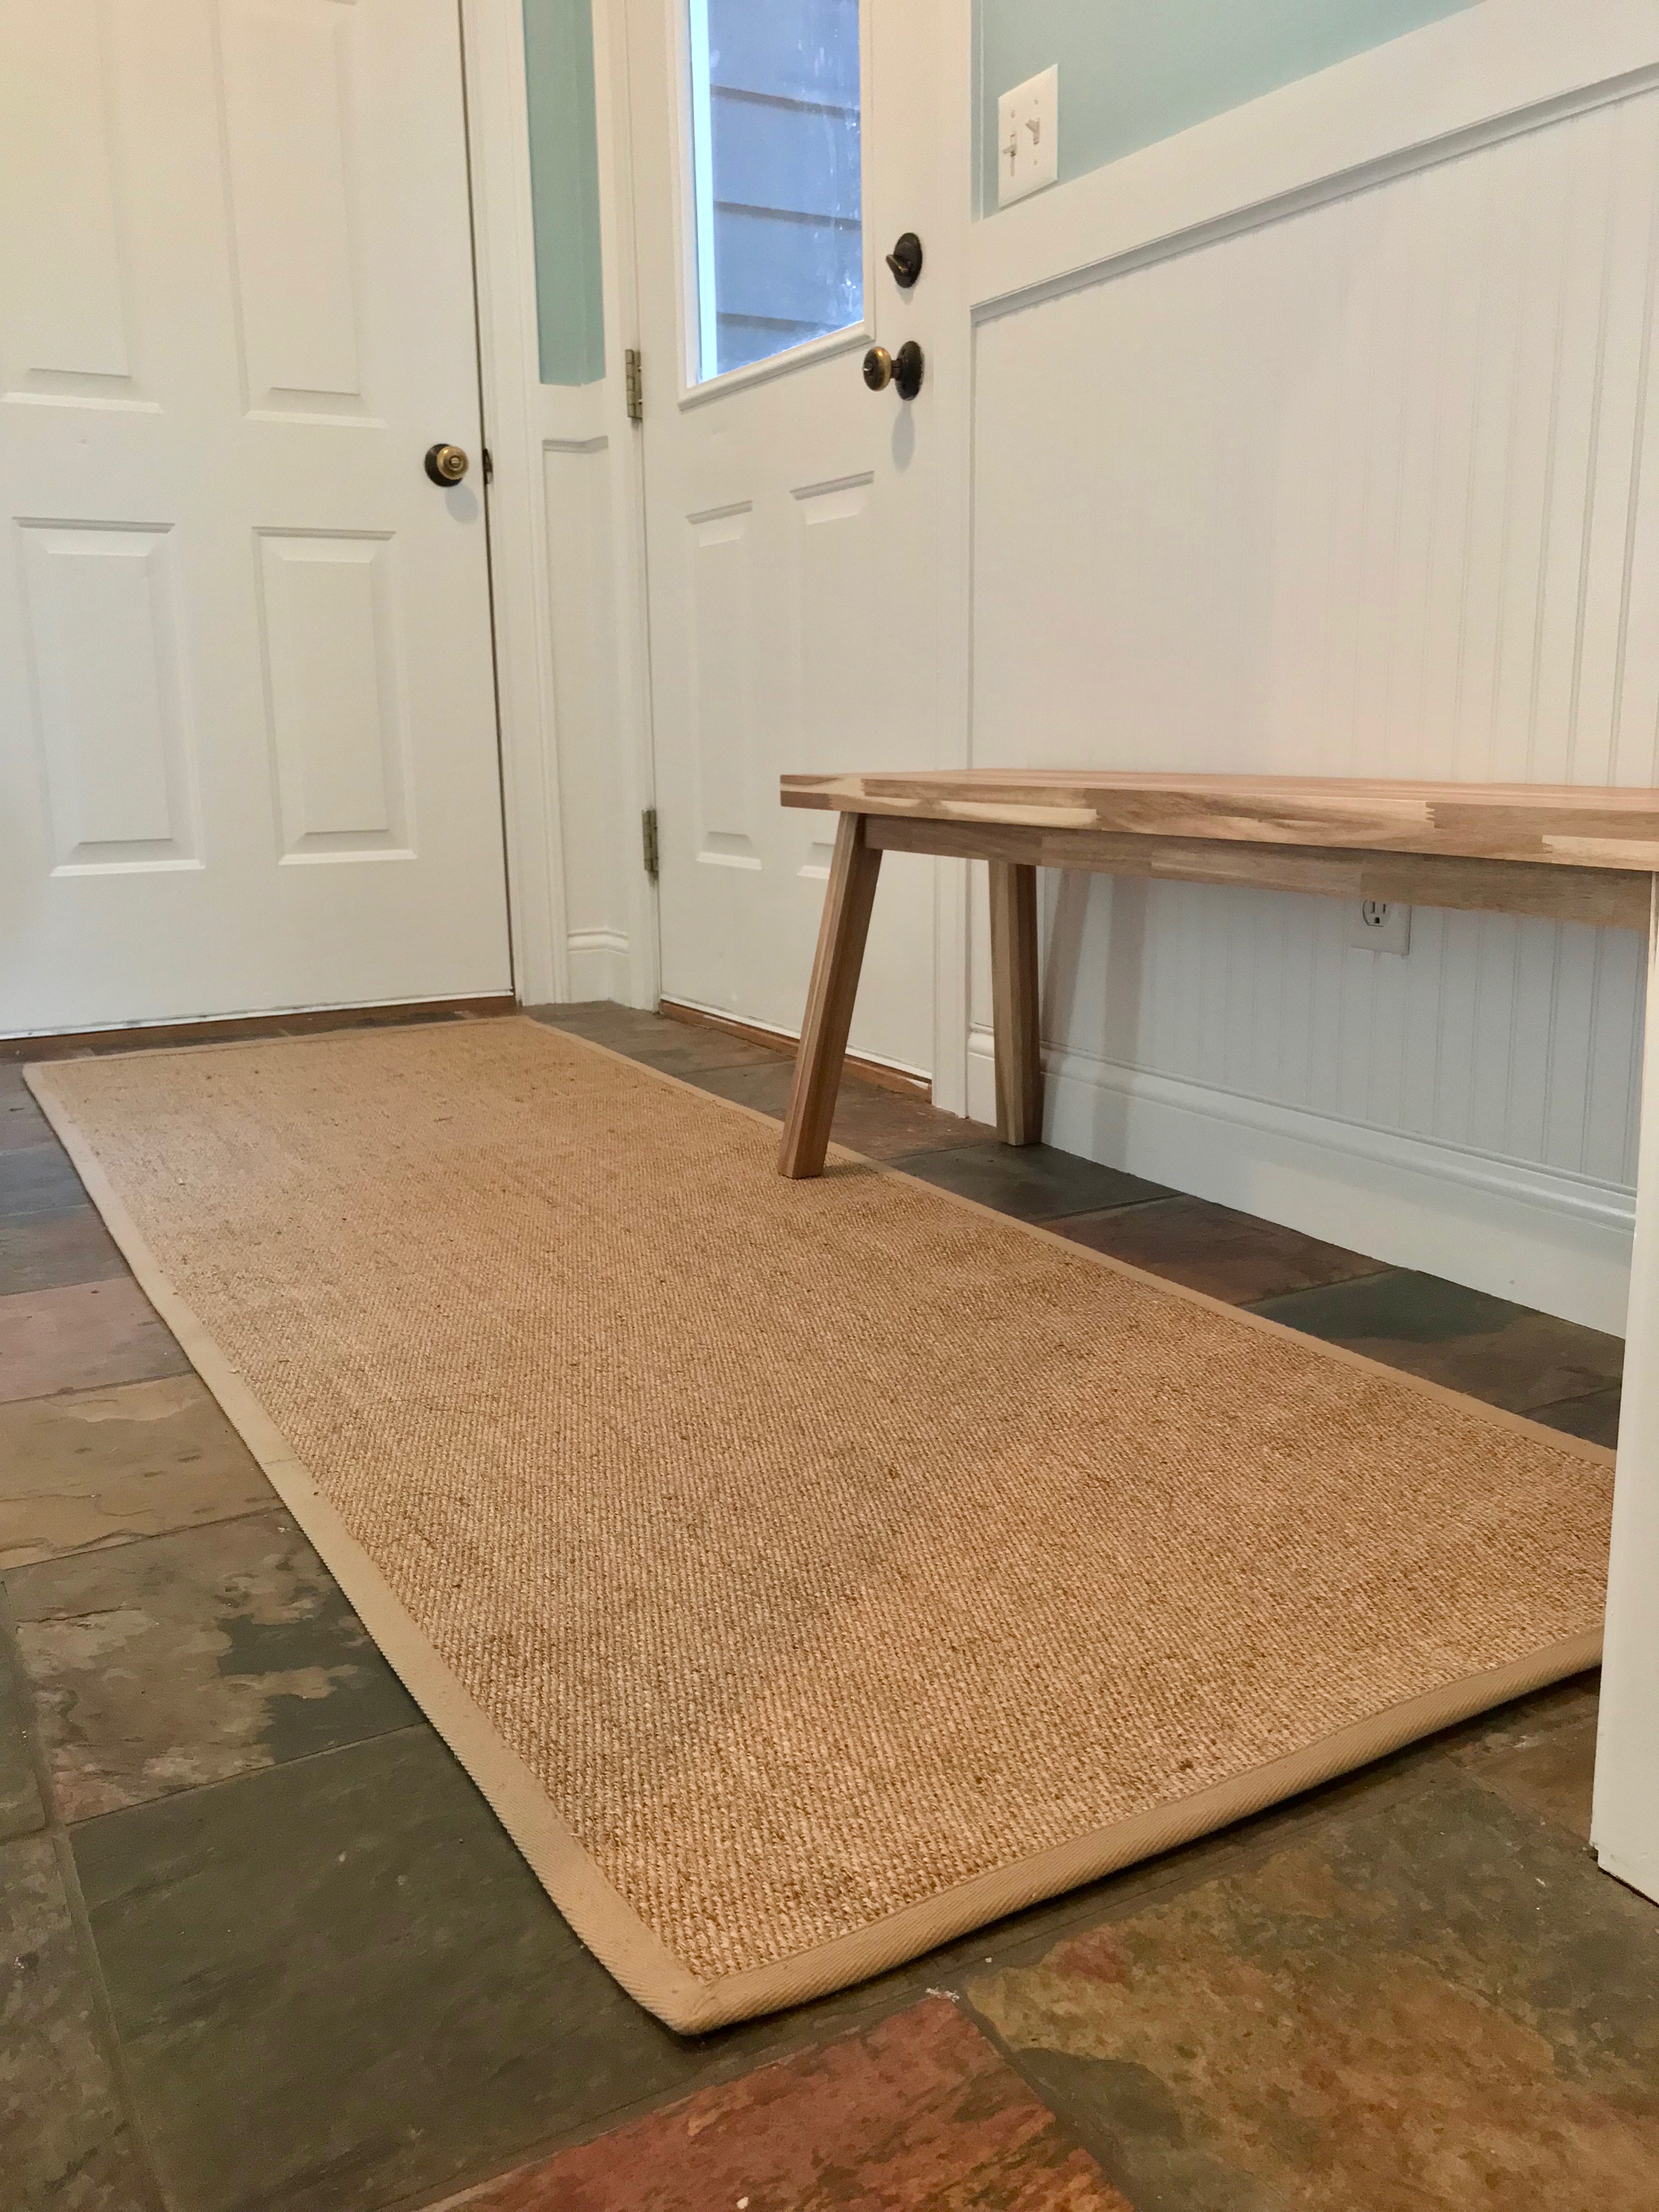
Step Four: Watch Quiet Man and build the Hall Tree
Yes, it was St. Patricks Day, so it was a perfect movie to watch as I built the Hall Tree. It was especially nice because I ran into a number of problems with the quality of construction.
A few things had to be modified, which was frustrating. I mean, “you had one job”! — drilling holes to match the hardware shouldn’t be that difficult!
Step Five: Realize that they don’t make furniture like they used to. Try really hard to be a good person when I face frustration. Fail miserably.
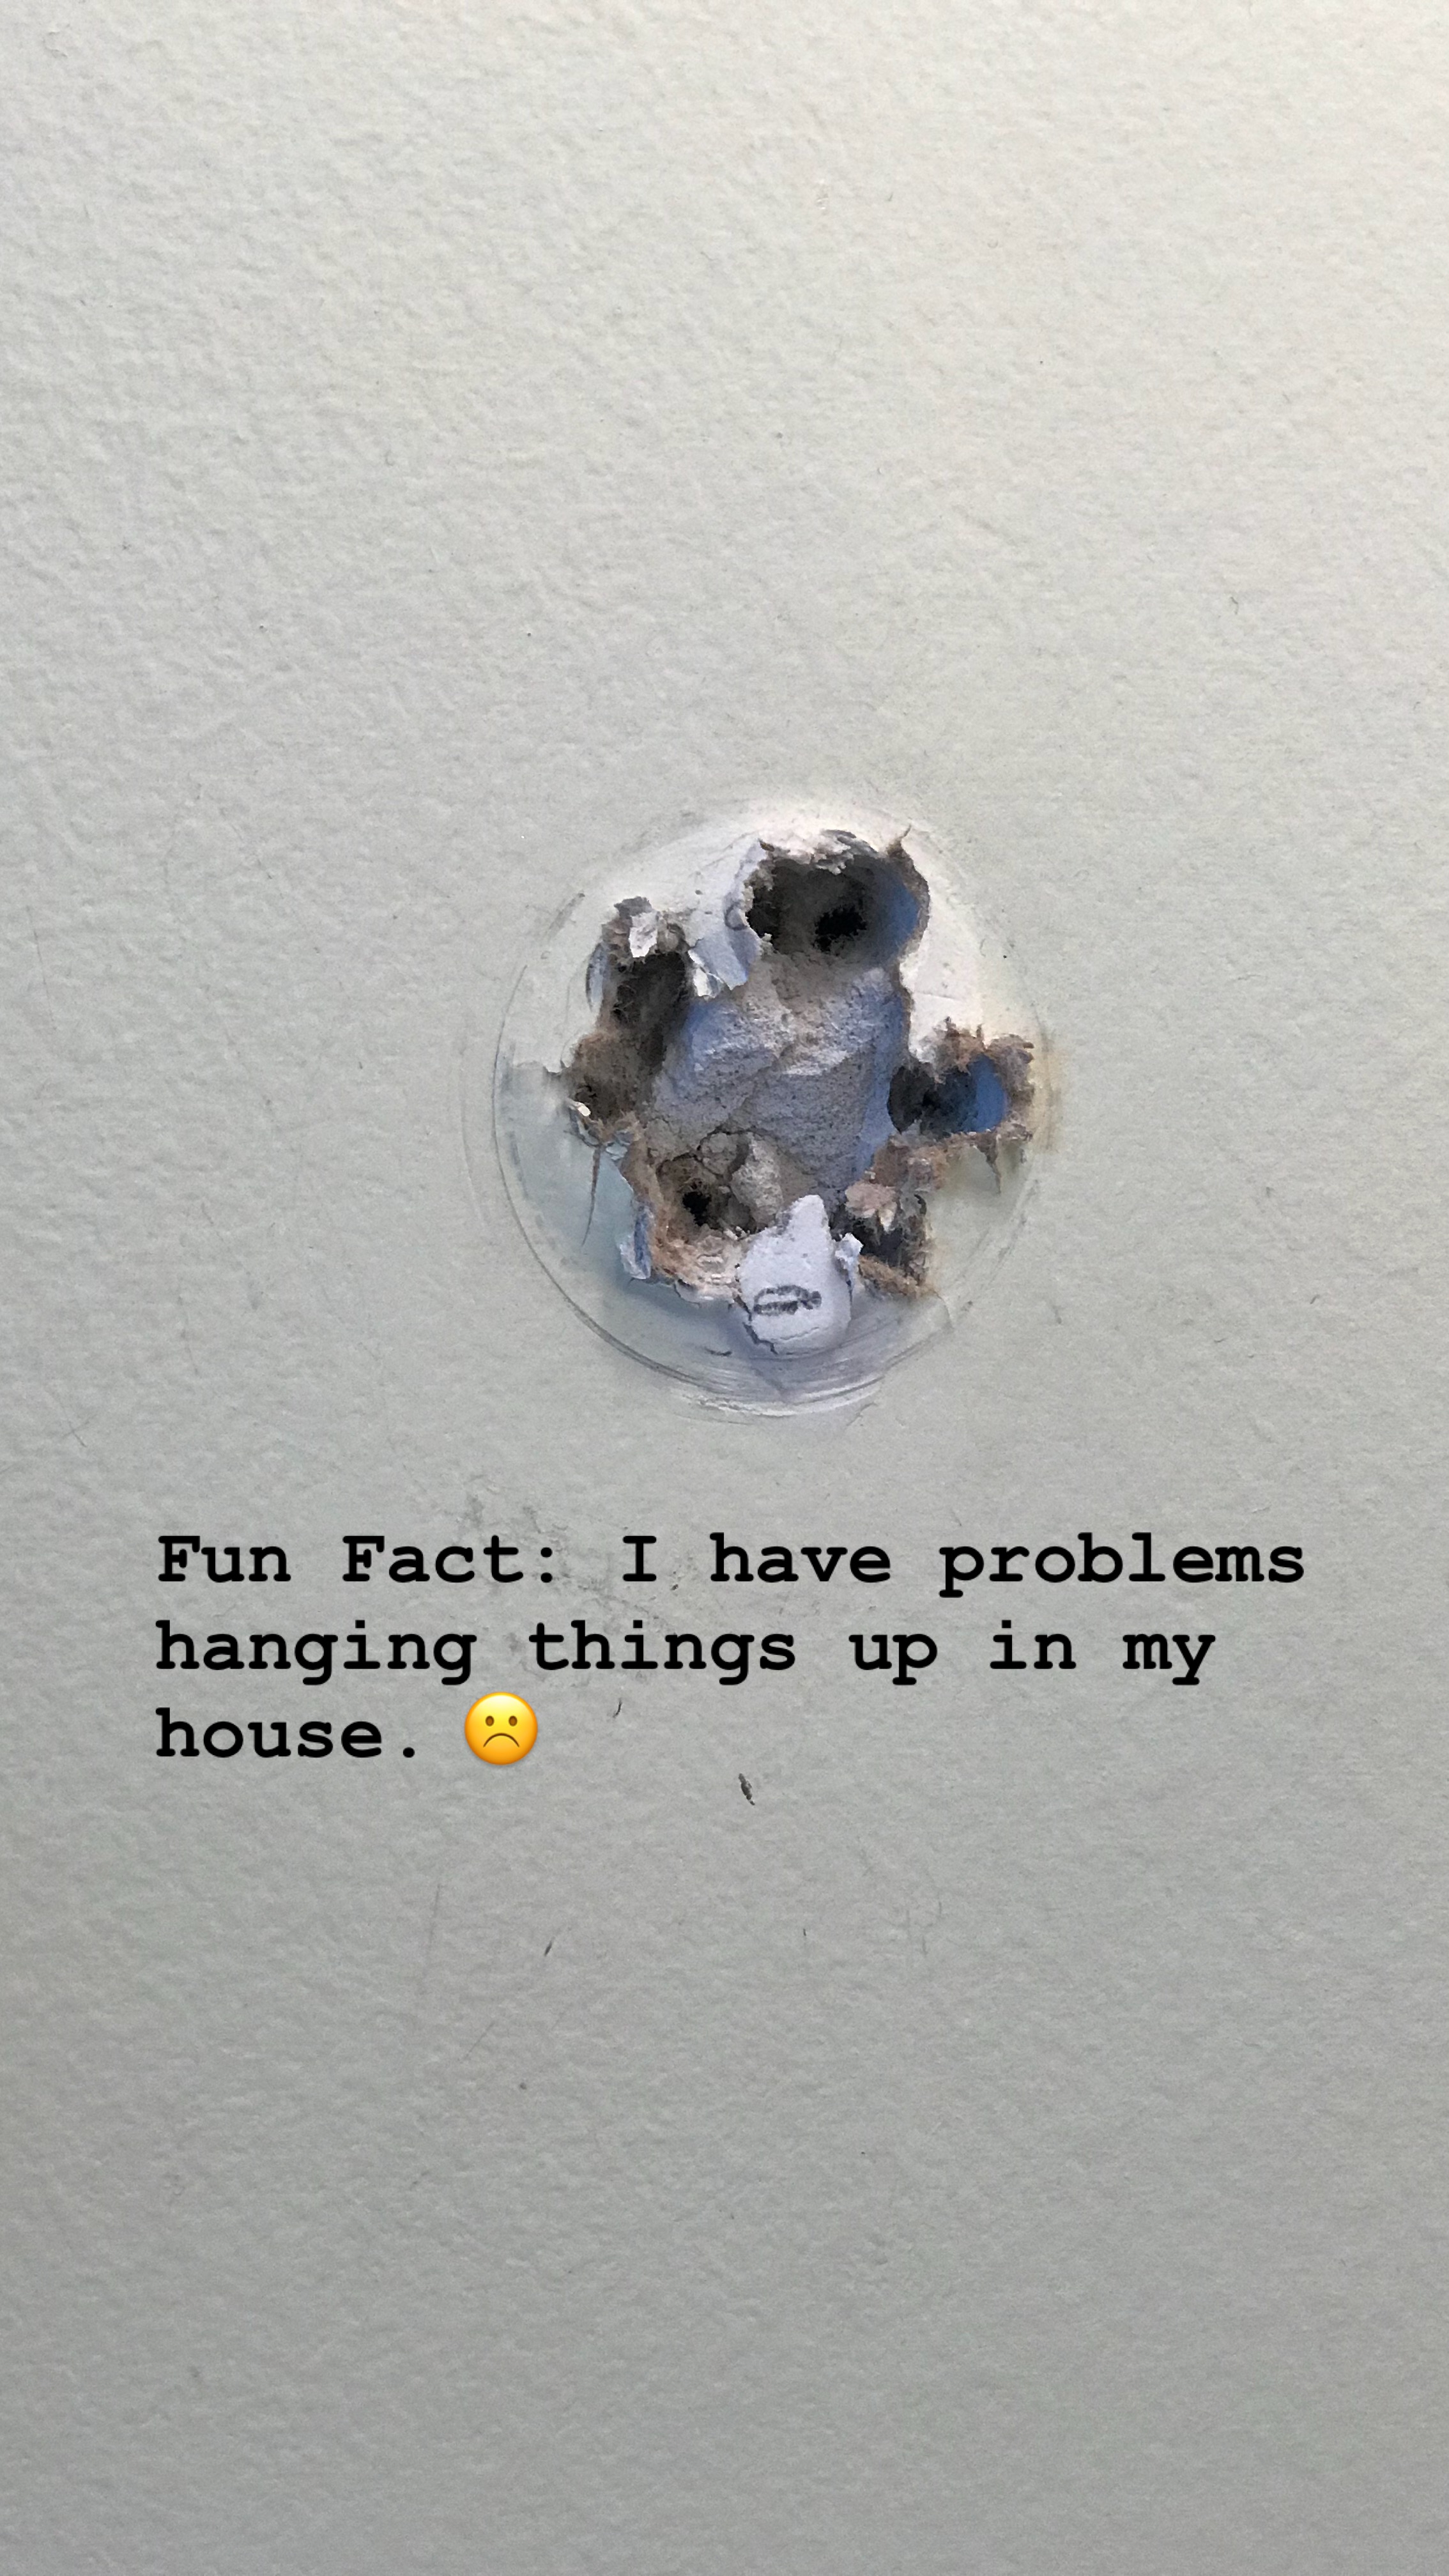
The following picture was part of my Insta-stories “How to build a Hall Tree”. The struggle was real. Which leads us rather organically to step 6…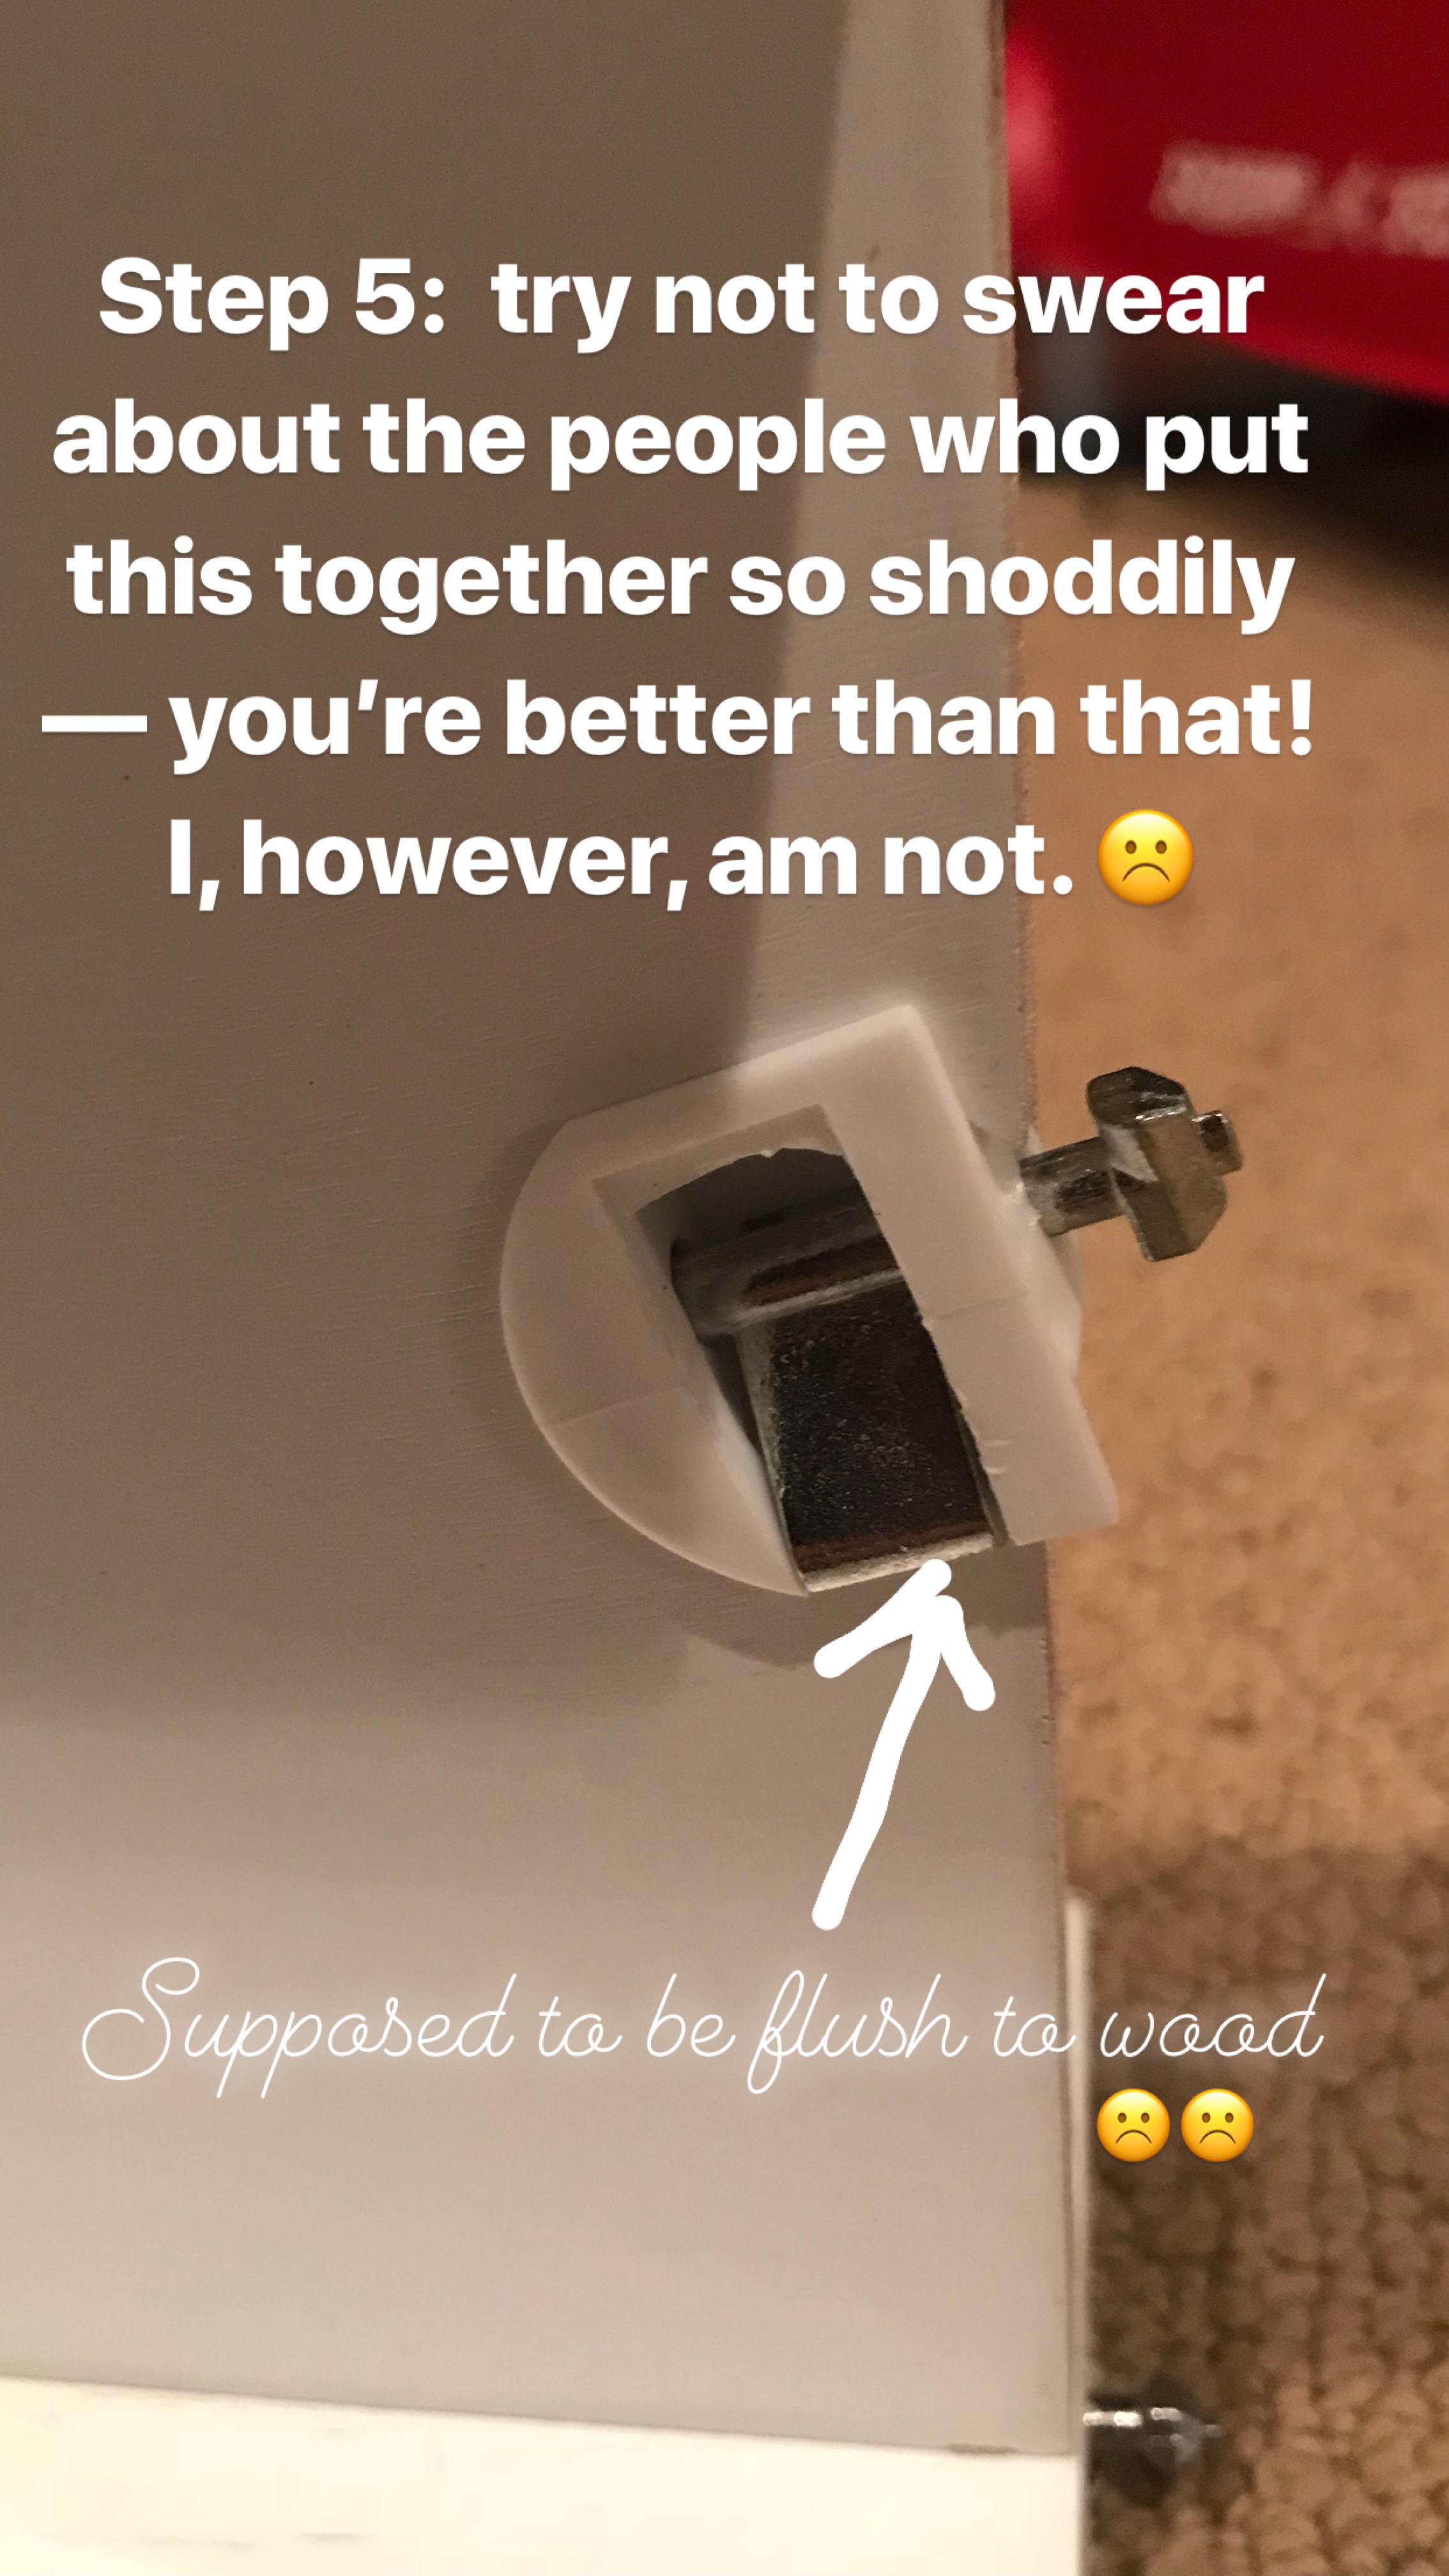
This was the first shoddy detail I encountered. It wasn’t the last. 🙁
Step 6: Pray for all the nice people you may or may not have been swearing about in step 5.
Enough said. I did.

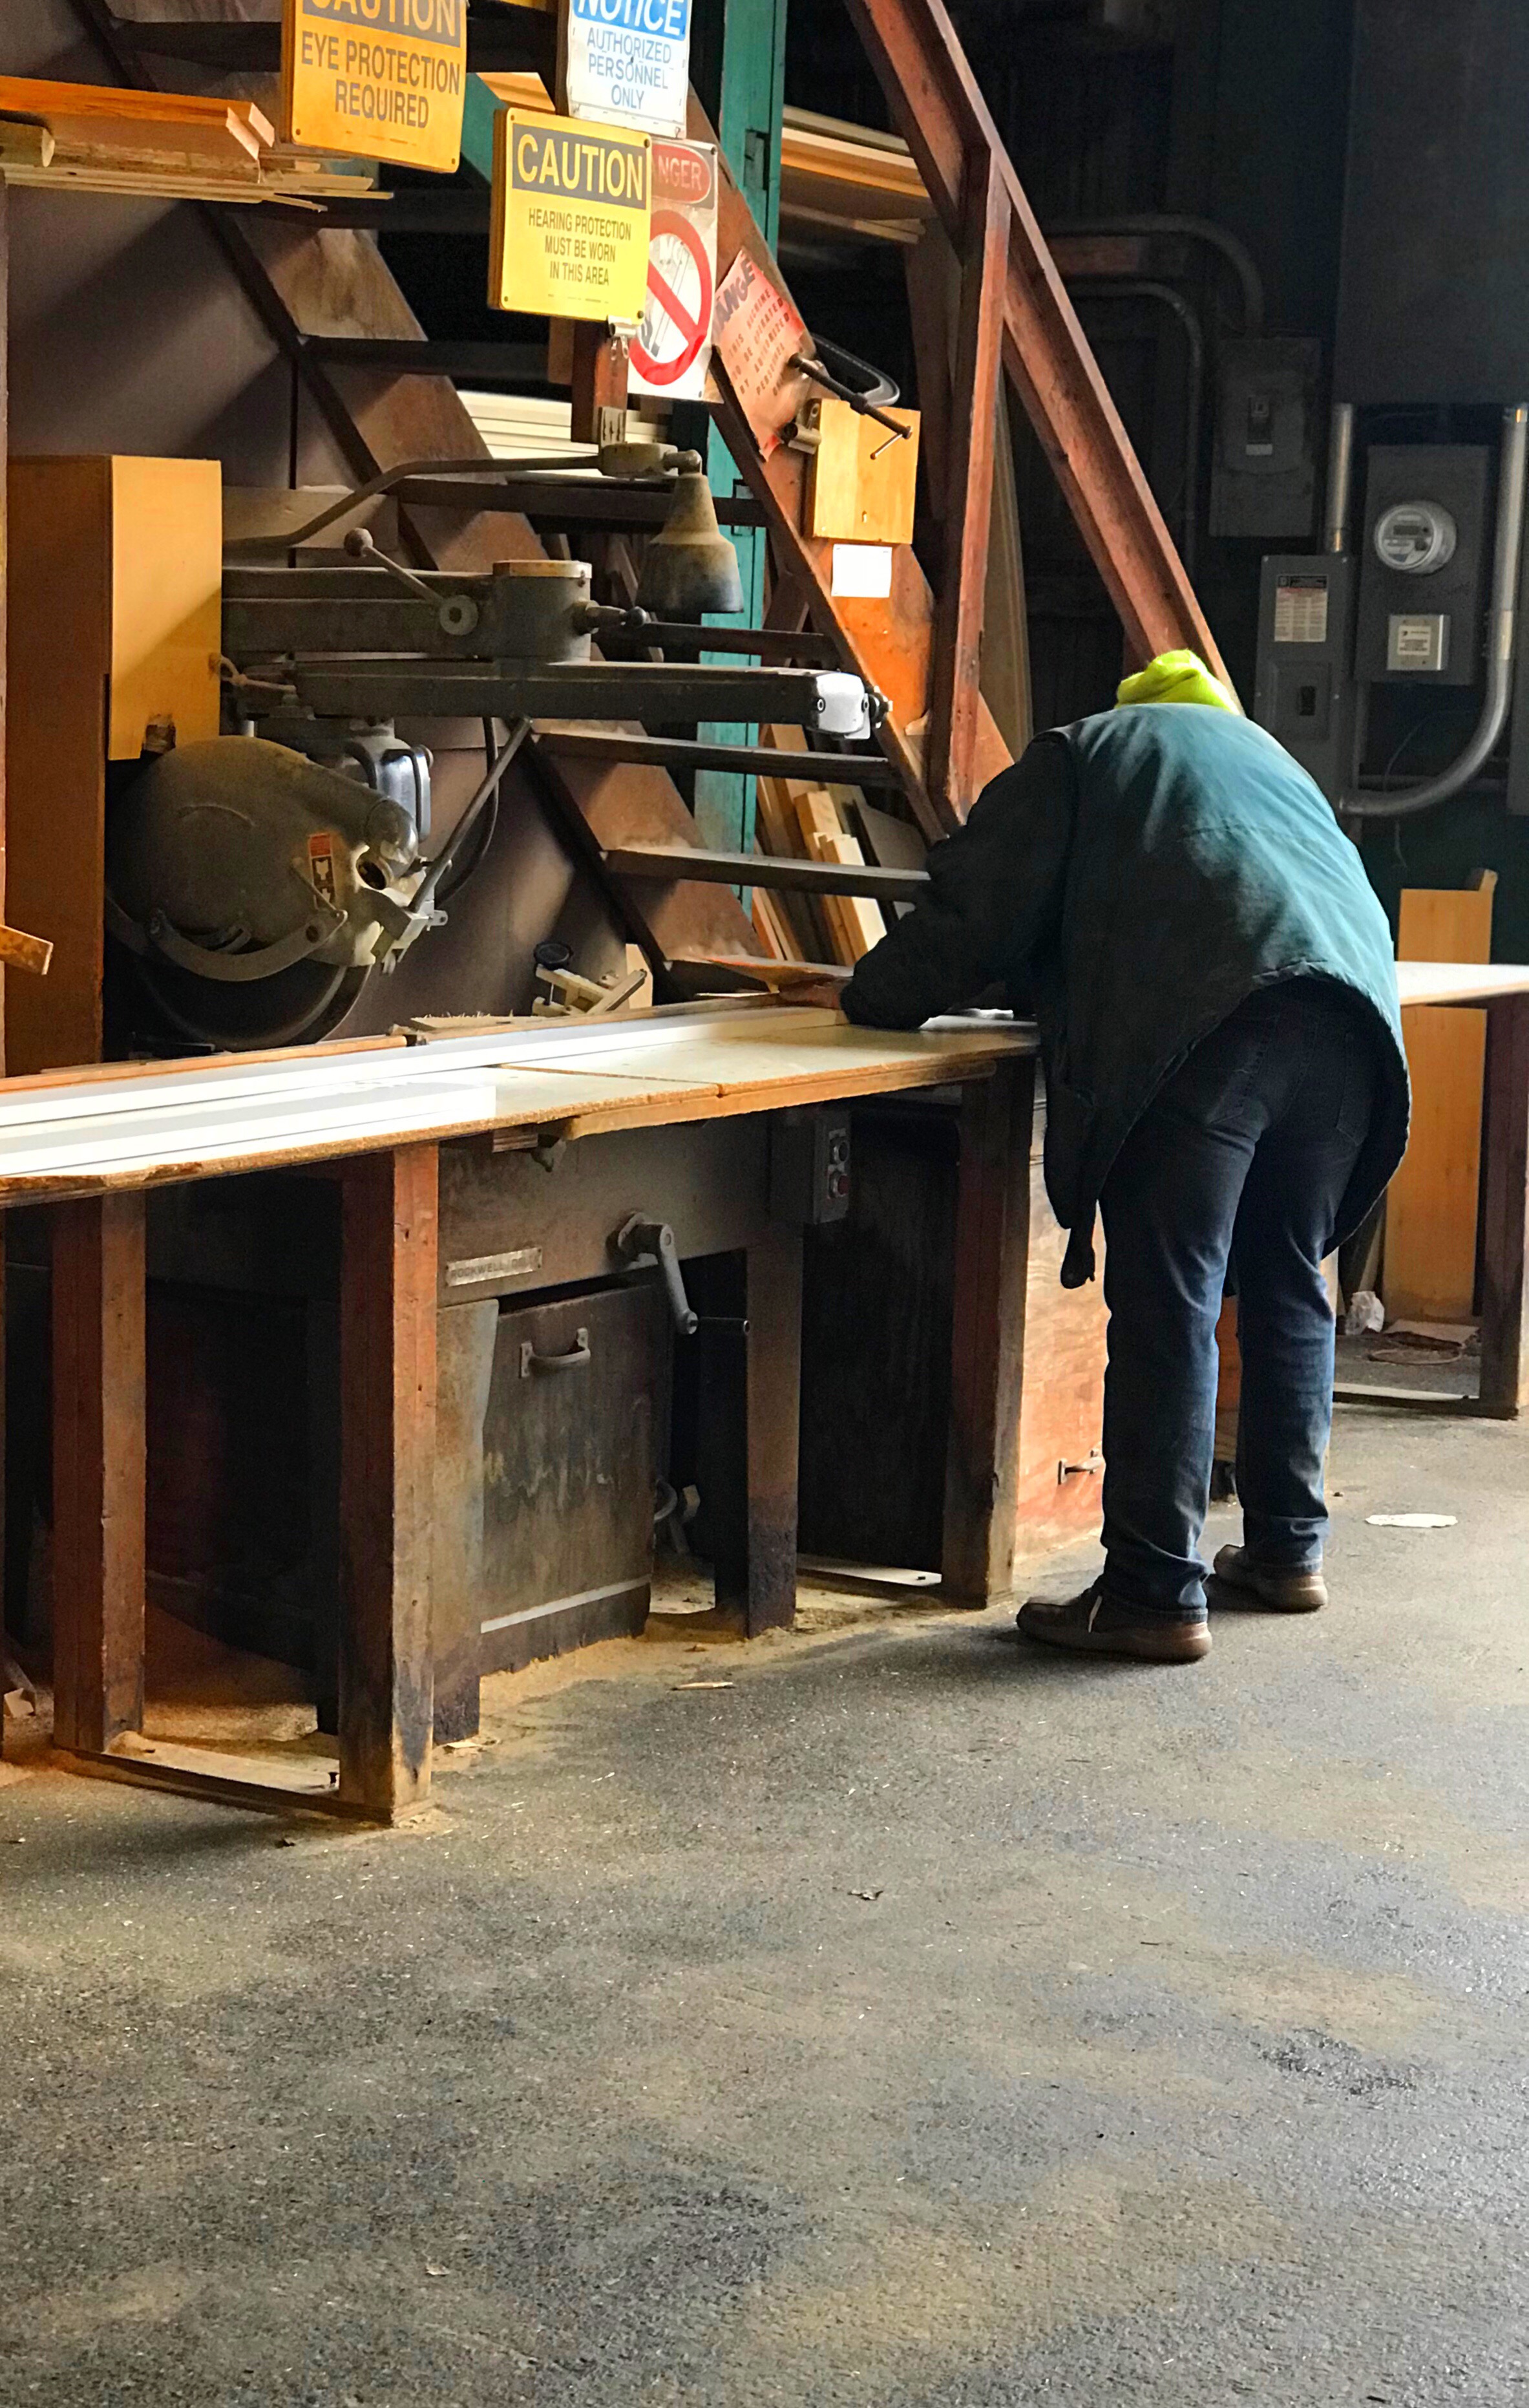
Step 7: Work with the local hardware
I covered this in another post, but the local hardware guys were life-savers! So helpful. Couldn’t have done it without them.
I spent about 5 hours consulting, problem solving, and cutting boards and trim with the help of a handful of great guys at the local hardware.
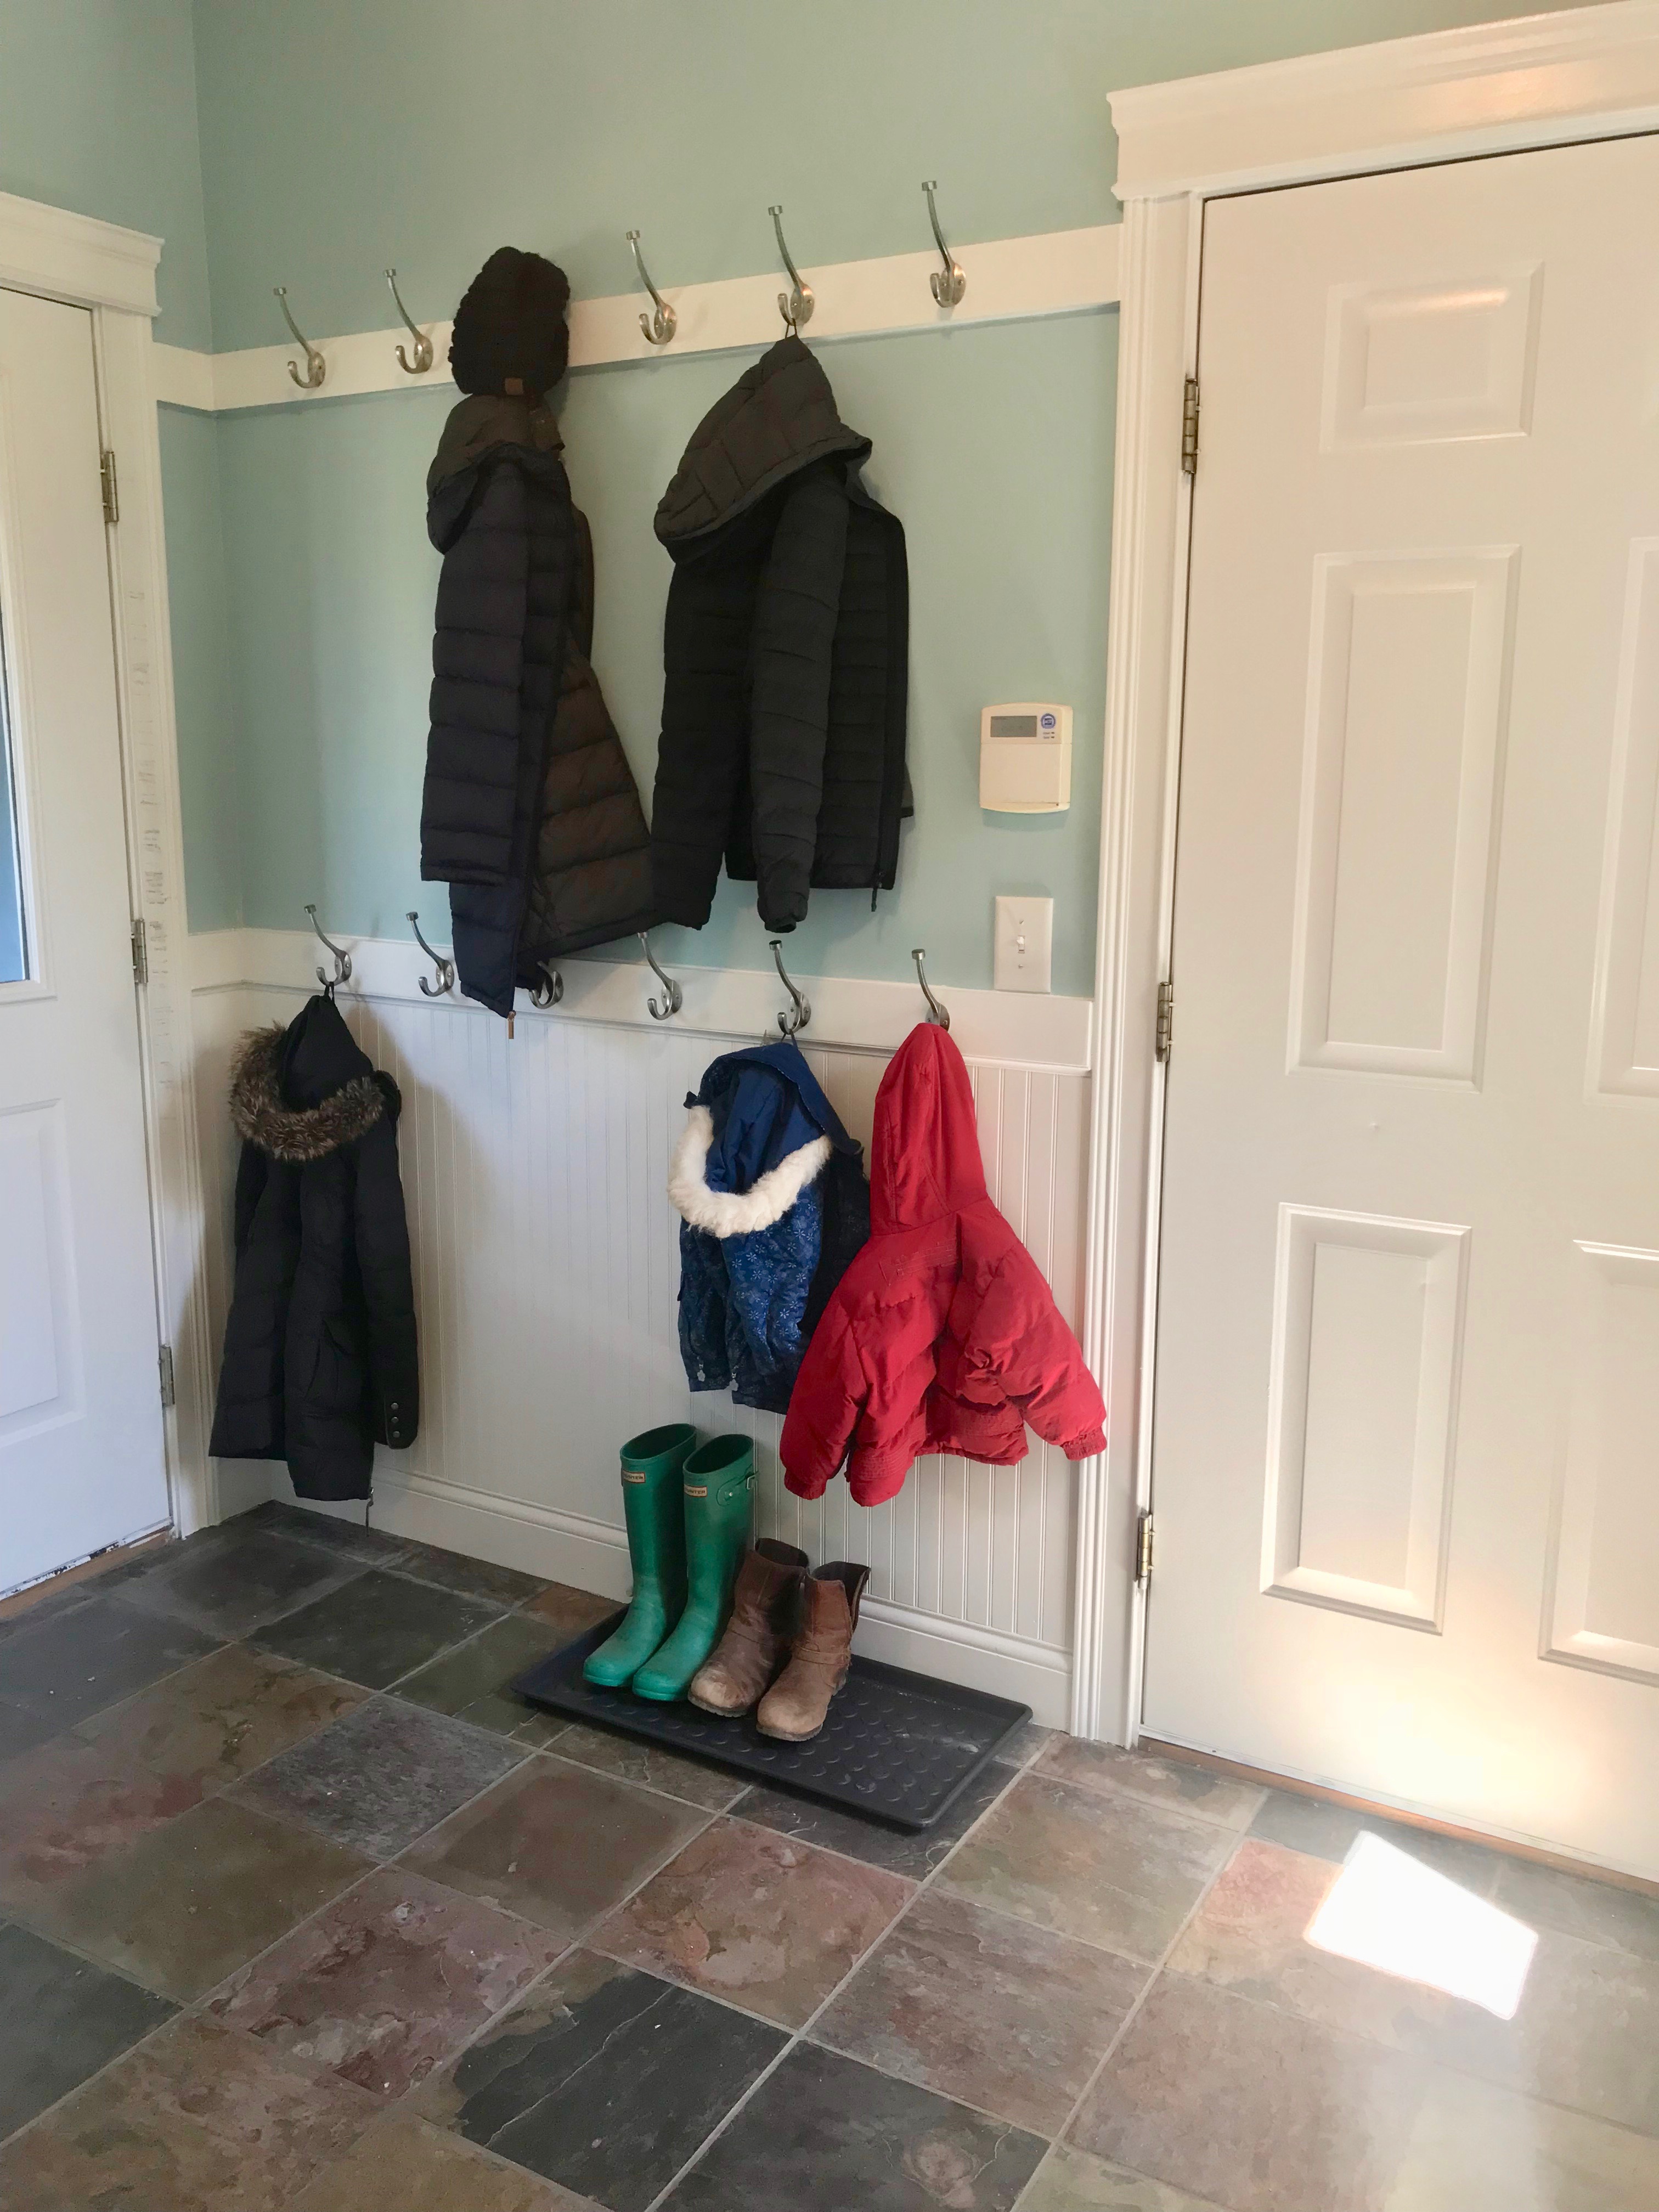
Step 8: Put furniture in, install and paint bead-board and hang hooks for coats.
It was a lot of hard work because I had to do everything by hand — no budget for power tools — but it was actually quite satisfying to work with my hands.
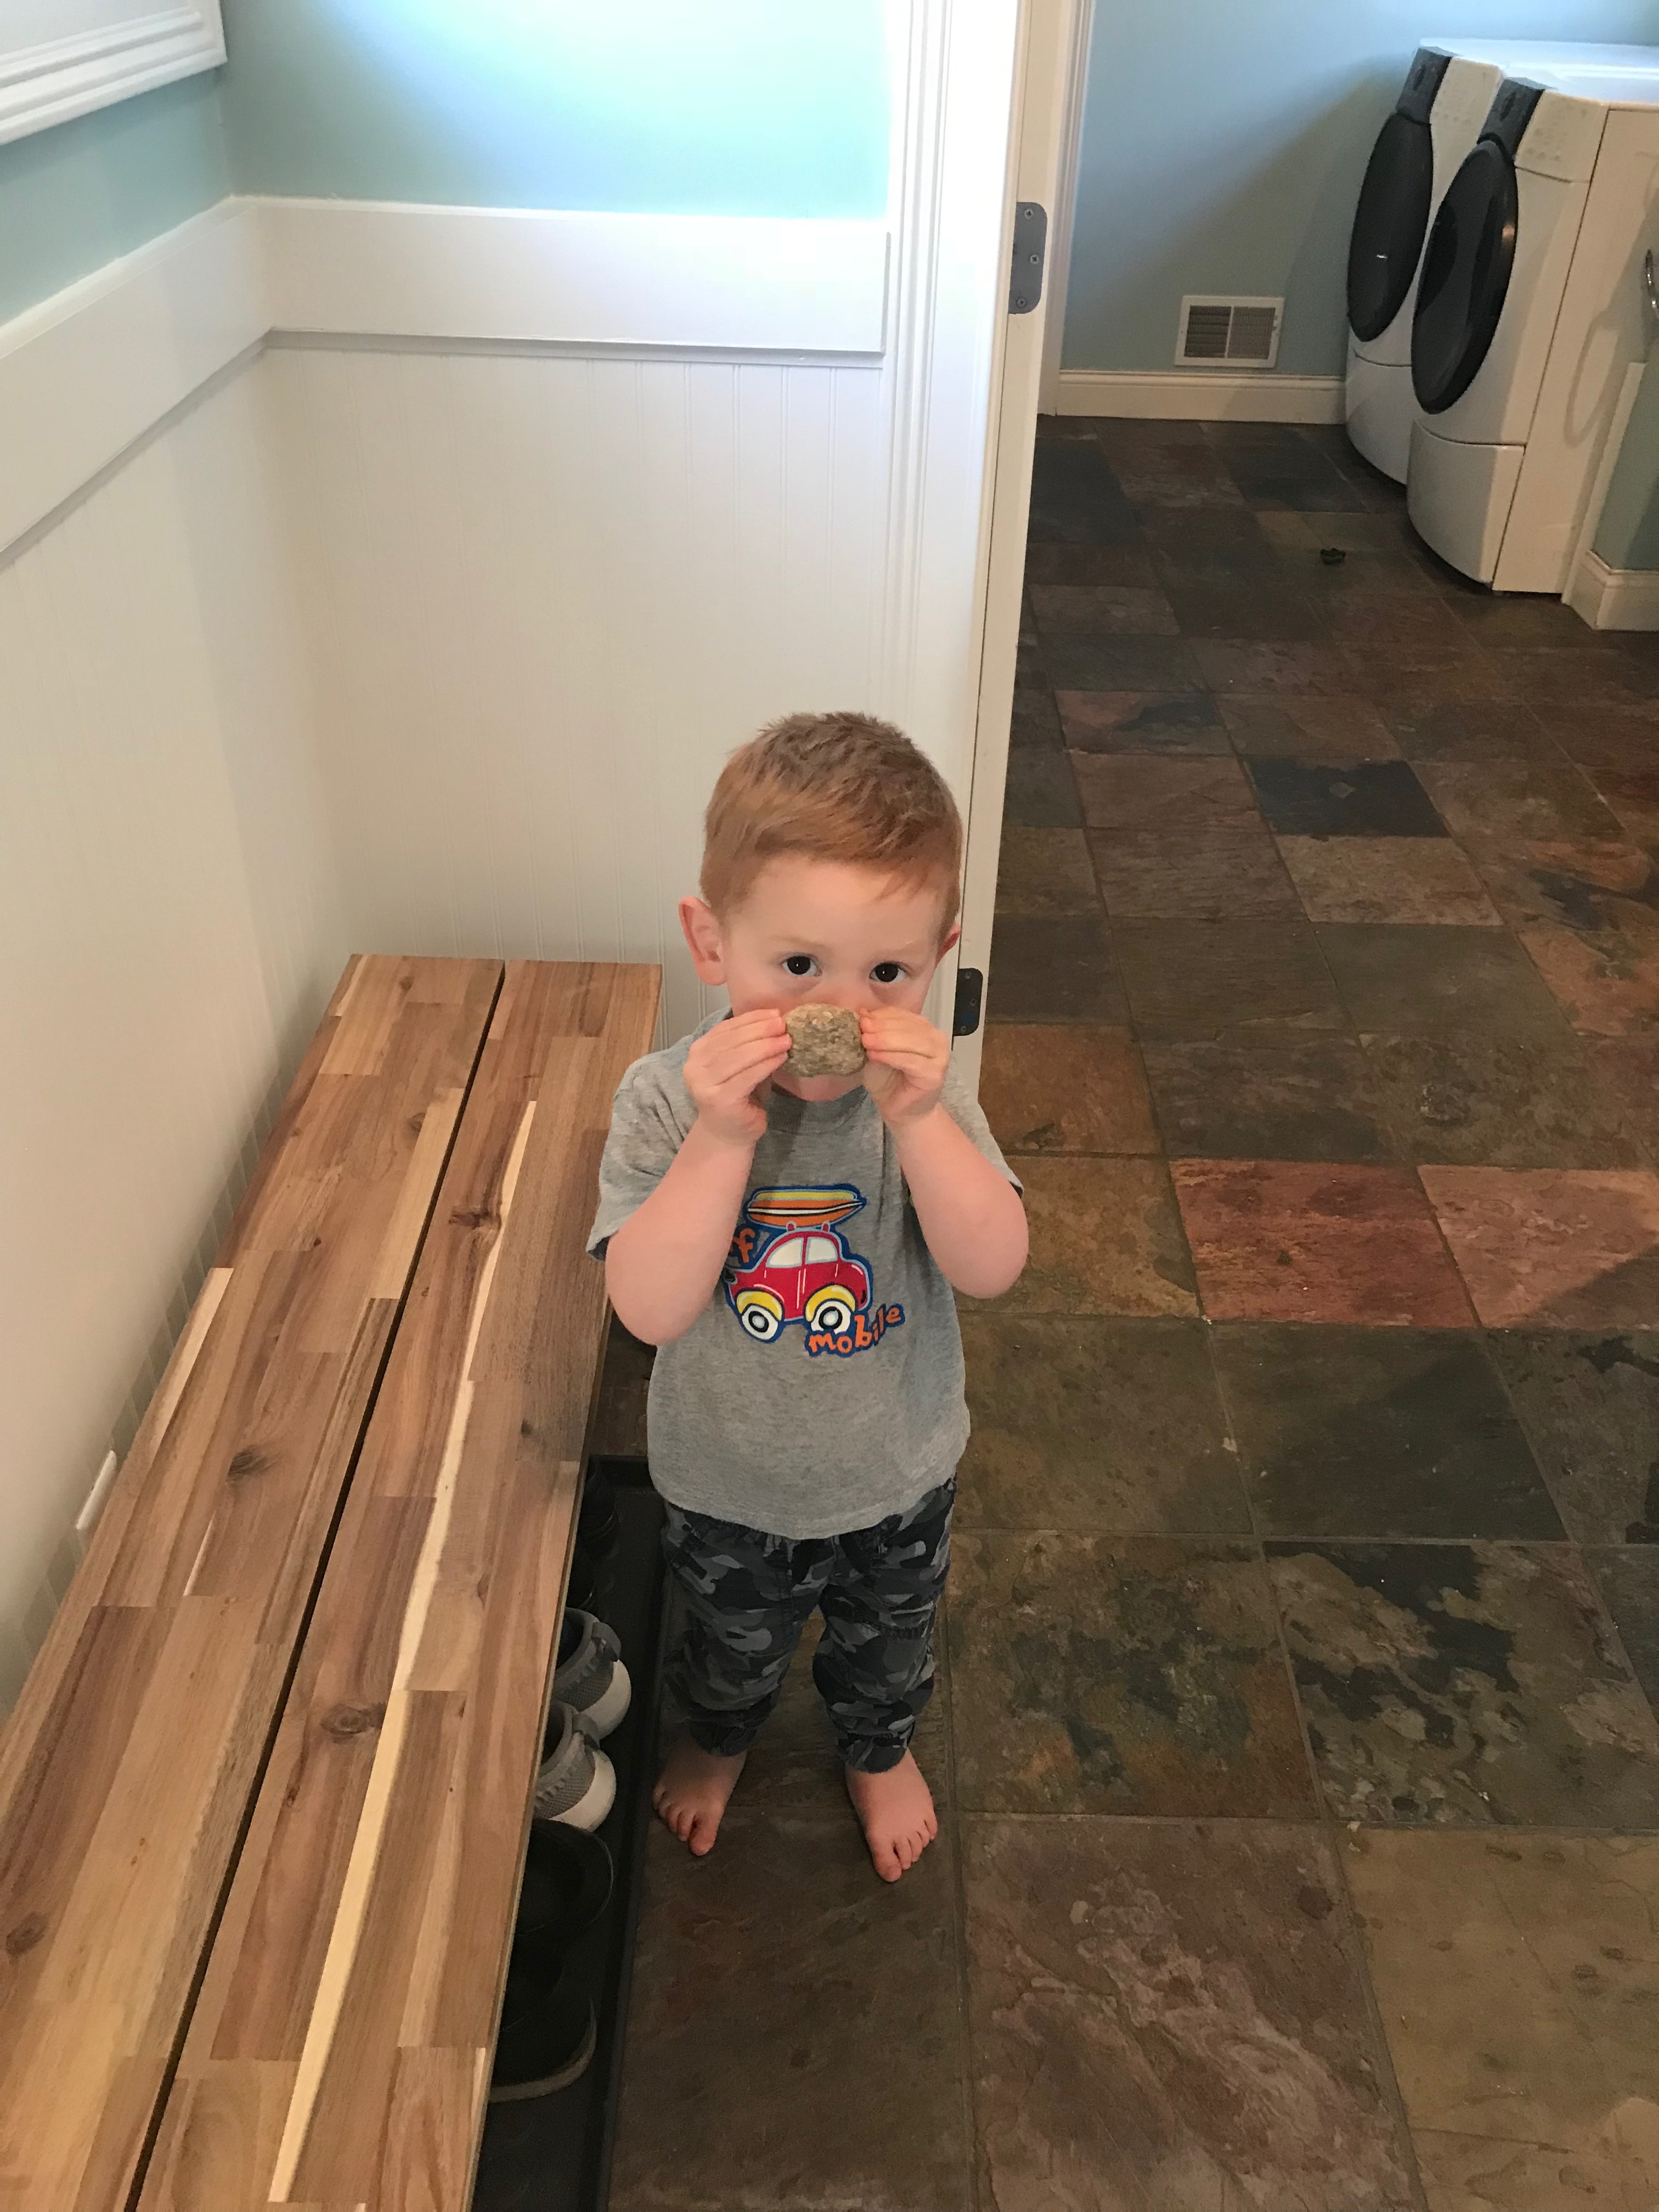
After all the paining was done, my two year old decided to leave some amazing artwork on almost every newly painted surface — which meant I had to paint it again.
We’ve made our peace with each other.
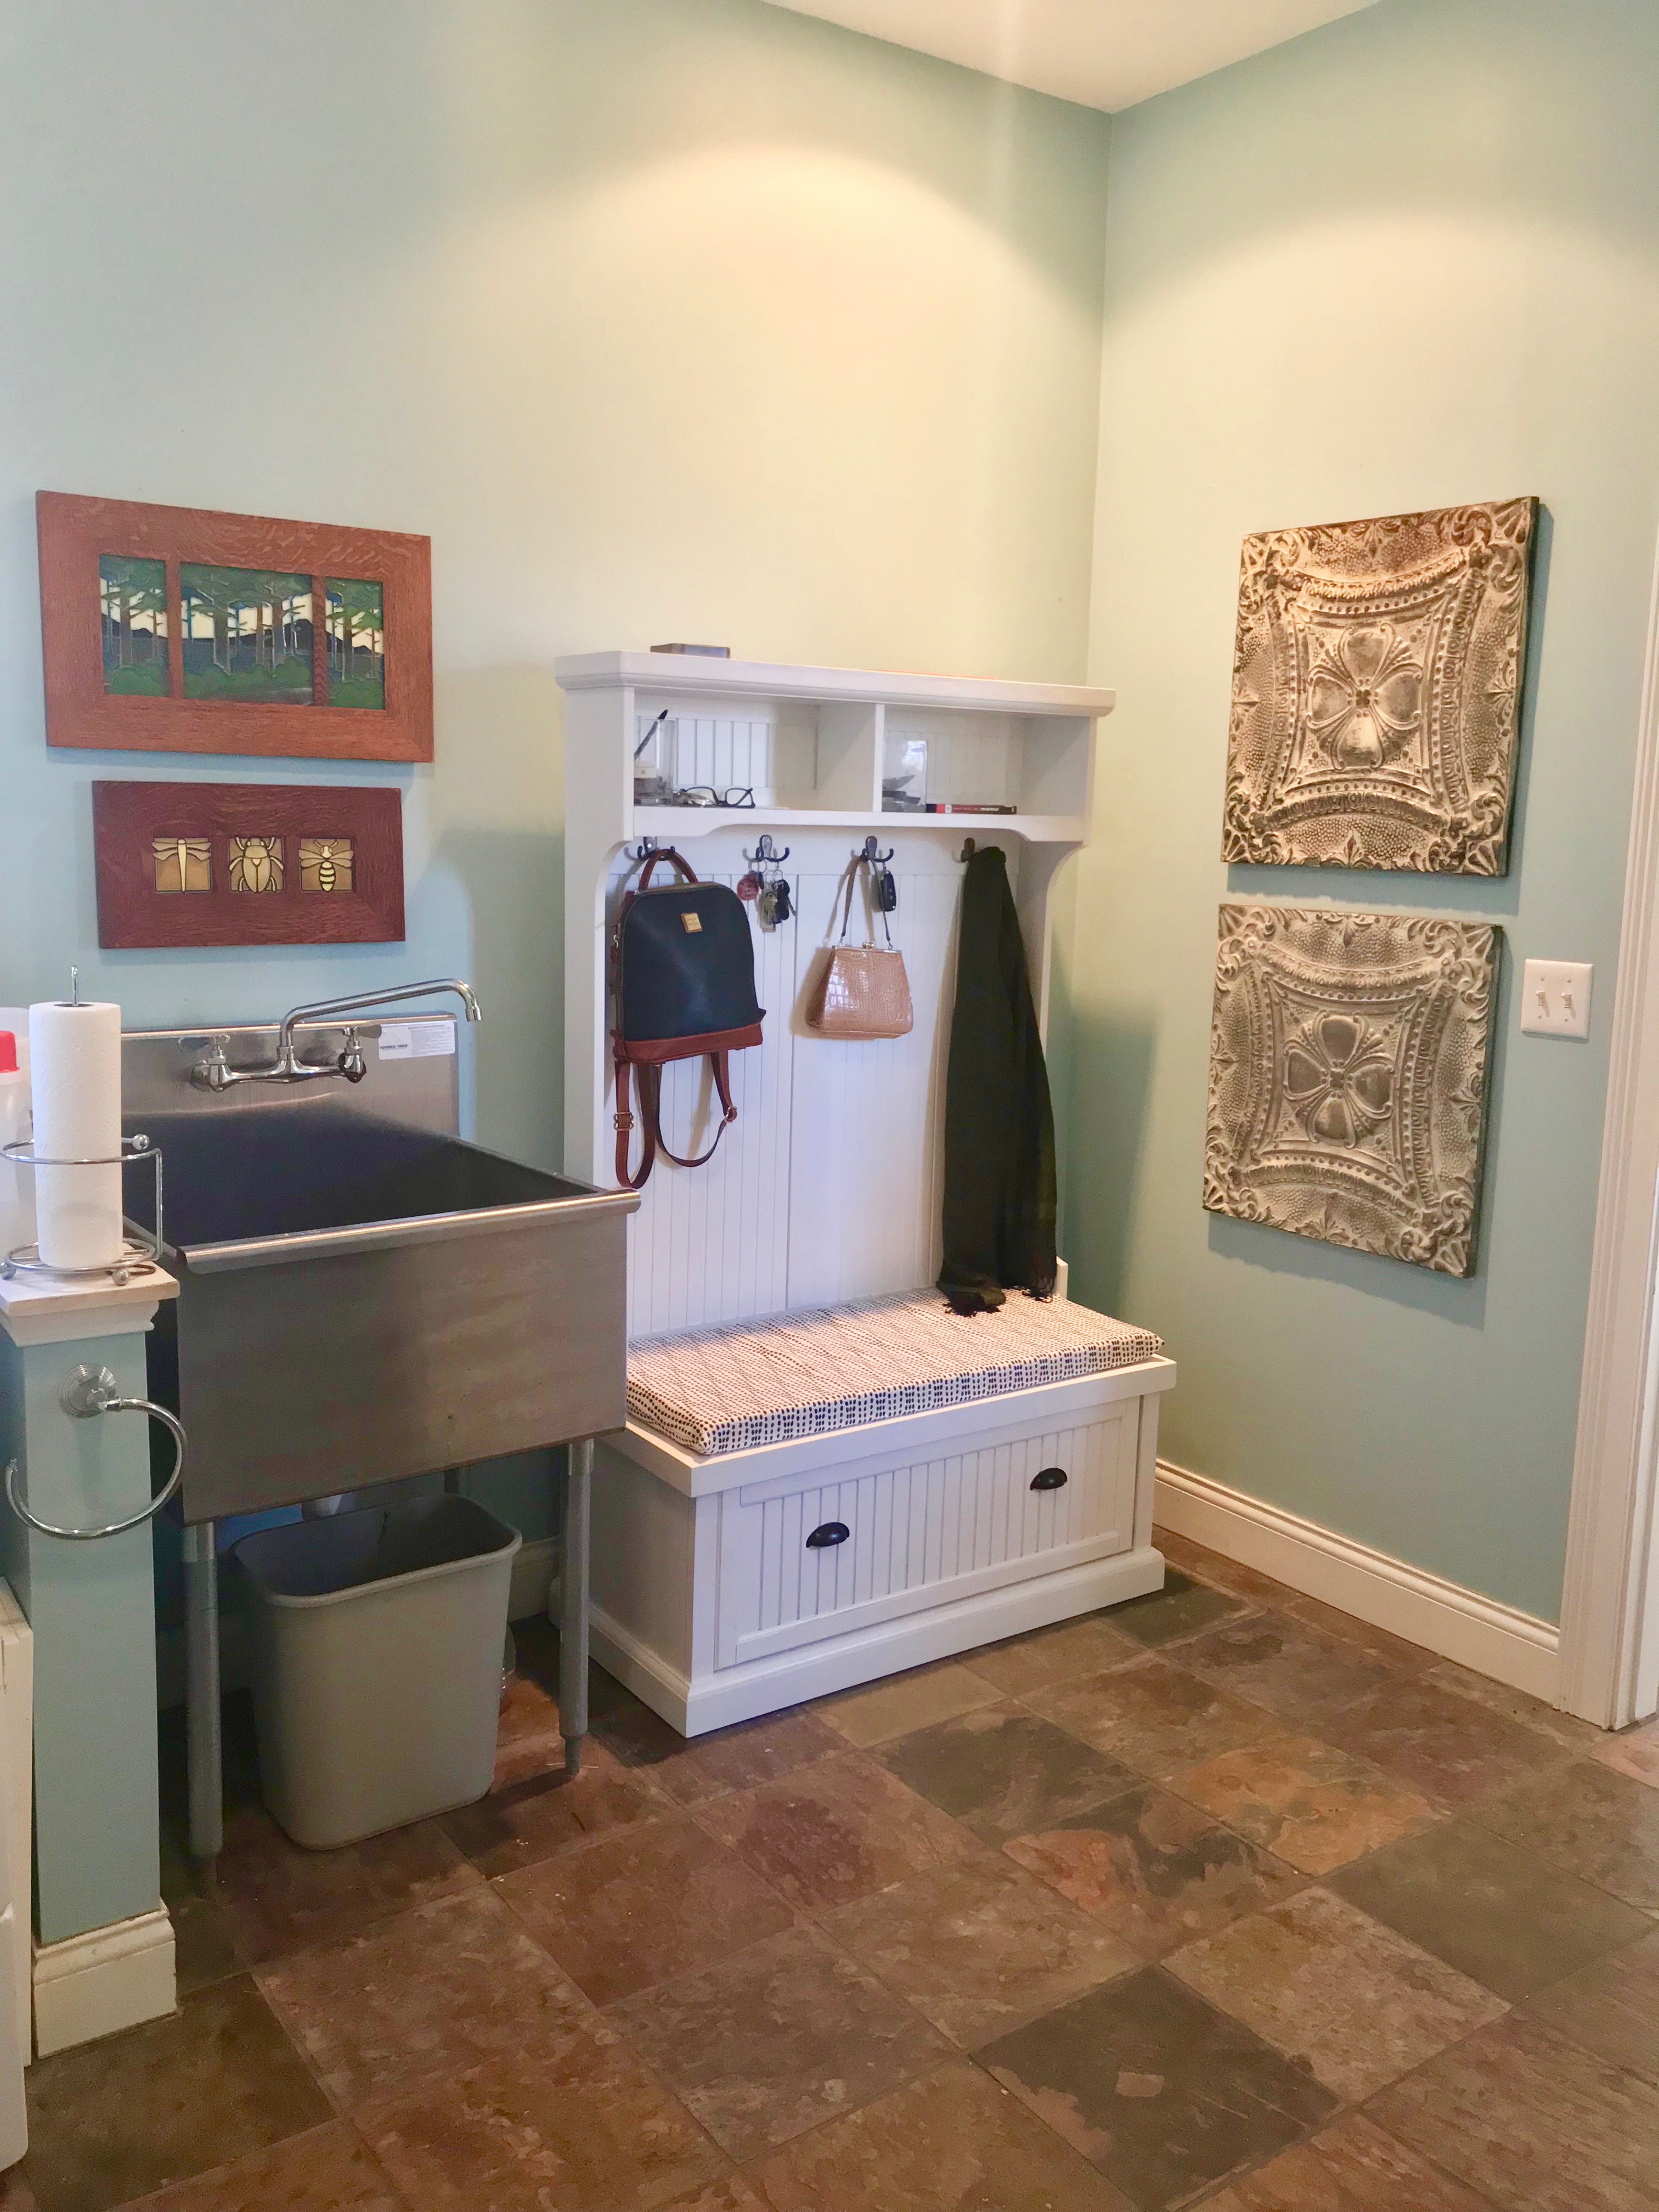

This is the room we usually enter and leave through — having it function well and look nice starts and ends our days on a much better foot.
We all do better with a little order, and it was a great reminder that environment does matter when you are part of a big, crazy family with a busy life.
I already have in mind a few more projects for around the house. This isn’t a mid-life crisis –I promise.
Way before there was HGTV, I was the kid who watched This Old House on Saturday mornings. Anyhow, feeding this little interest of mine is a good thing, and I think it’s served the family, as well.
I actually worked on the original design for our house. We envisioned bedrooms that would hopefully be filled with kids one day, a dining room big enough for family and friends, and rooms that we hoped would be full of life.
Obvioulsy, an architect and builder took those plans and made sure our house of dreams (shout out, Anne Shirley fans) would stand the test of time. We loved every step of it, from design to completion.
So I guess you could say designing things is something I enjoy doing in my free time. (I’m laughing right now, because I don’t actually have free time — but you know what I mean).
Making time for our unique passions has the added bonus of providing more energy and enthusiasm for the rest of our life, so it doesn’t have to compete with family life.
The key is to pace yourself and respect that family life can’t take a back seat to your passions.
I started off trying to work 18 hour days and quickly realized none of us could endure that pace. It was then that I decided to spead it out over a two week break and remain a much nicer person in the process.
There were definitely moments when I wasn’t the best version of myself, but it served as a great reminder that if you want a peaceful result for all your work, you need to approach it in a peaceful manner.
I can’t just barrel through things. I need to find a peaceful pace and stick with it.
Honestly, that’s a great lesson to bring back into my everyday life with my husband and kids. The second I start trying to barrel through things, it’s not pretty.
Well, hoping this might inspire you to do that thing that sparks your enthusiasm. It doesn’t have to be big, and you definitely don’t need to be a professional to figure it out.
Honestly, I found that enlisting all those local retirees at the hardware is a great way to connect with some nice people with loads of knowledge, who just might feel really good about helping you out.
I’m planning to bring my hardware buddies a couple dozen eggs from our chickens and show them the pictures of the final project. I figured that would be a nice way to show them my appreciation.

And maybe that’s another takeaway of projects like these: seek out help and find little ways to say thank you.
These little projects can be an unexpected way to connect with really kind people you’d never connect with otherwise — which is kind of a beautiful thing.
So here’s to more projects and here’s to looking for the deeper meaning in all those little fixer upper moments in our lives.
That’s all I got. Have a great weekend!
Sharing over at Kelly’s


6 Comments
Eileen
Wow! I am so impressed…and your Dad is too!!! Can’t wait to walk in and be greeted or treated to such a beautiful sight. We better come SOON. SEE YOU THIS MONTH, SO warn the kids, they have to keep it beautiful for Grandpa and Grandma. That is quite an accomplishment…(seriously folks, it WAS a death trap before) but I know you must feel really good now that the impossible has actually taken place. See you in the mud room real soon kids!
Moira
Ha, “death trap” — you nailed it, Mom! That’s exactly what it was! We’ll keep it nice and clean for you. Come soon!
Katherine
This is an inspiring makeover!
Moira
Thanks Katherine!
Megan
Love it Moira, and 2 weeks is amazing timing to me since most everything takes months and months to accomplish in my house….I’m proud of you! Love ya, Megan
Moira
Well, your project is a much bigger scale — maybe one day entire shiplapped rooms you’ve got going on will happen — but I think I’d have to invest in a nail gun for that.😉 Love ya and you’ll have to come soon to see it in person! Schools almost over!